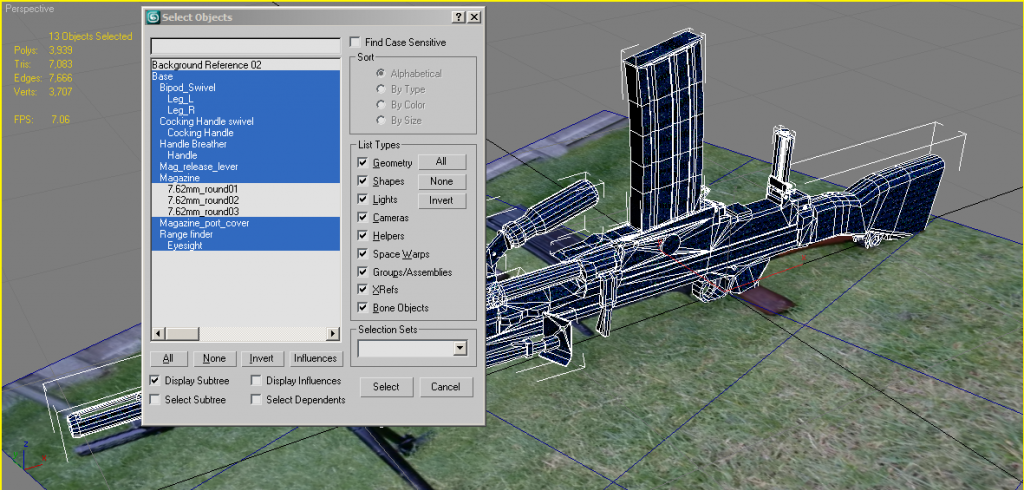
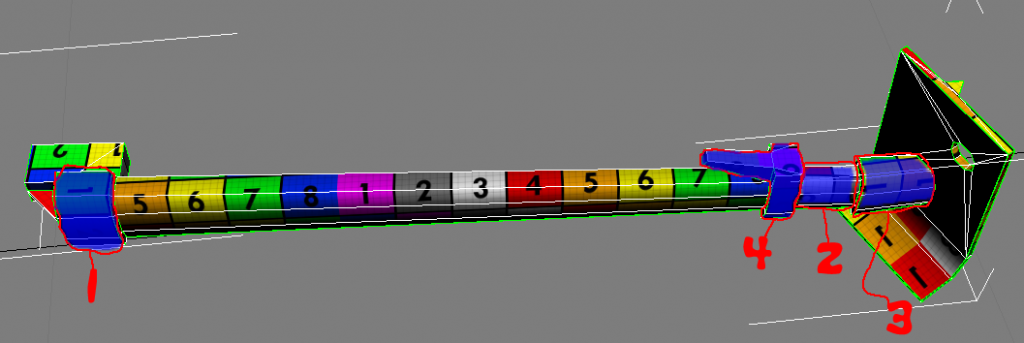
Cheers, right first of all I've applied that fix I did to the mag release catch to the new scene, and note how the seams are focused away from the players view:


Next I've applied a UV helper to your model, lots about on the net but this is the one I use:

Can easily set it up for working with non-normalized UVs too by just changing the tiling settings down to something really low, like in this case a tile of 0.1 for both U and V:

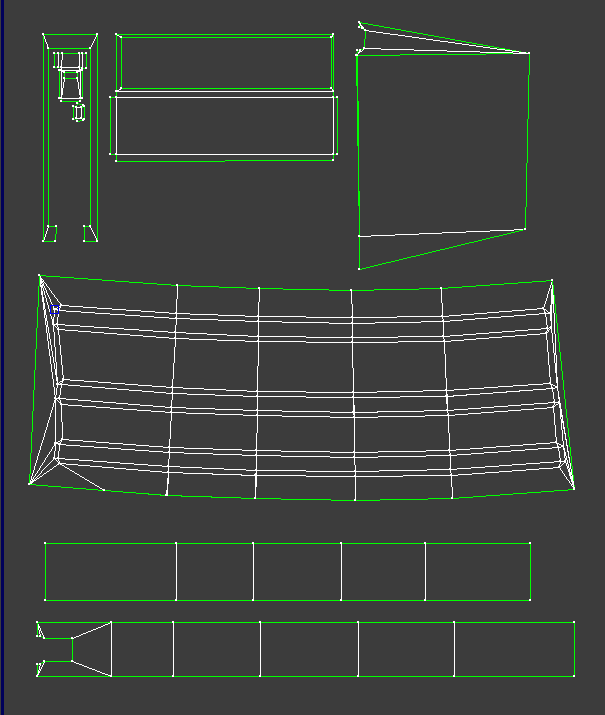
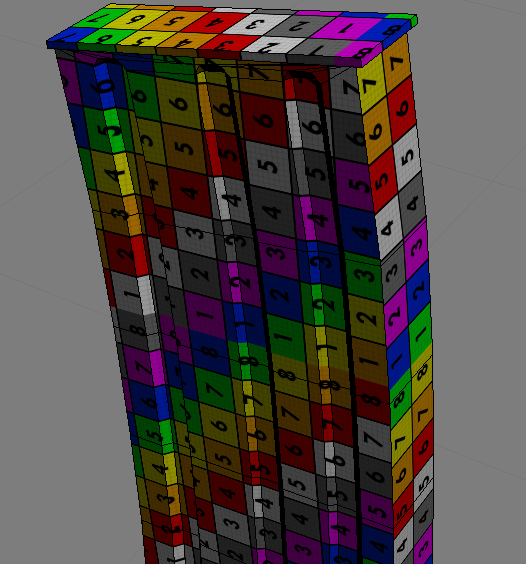
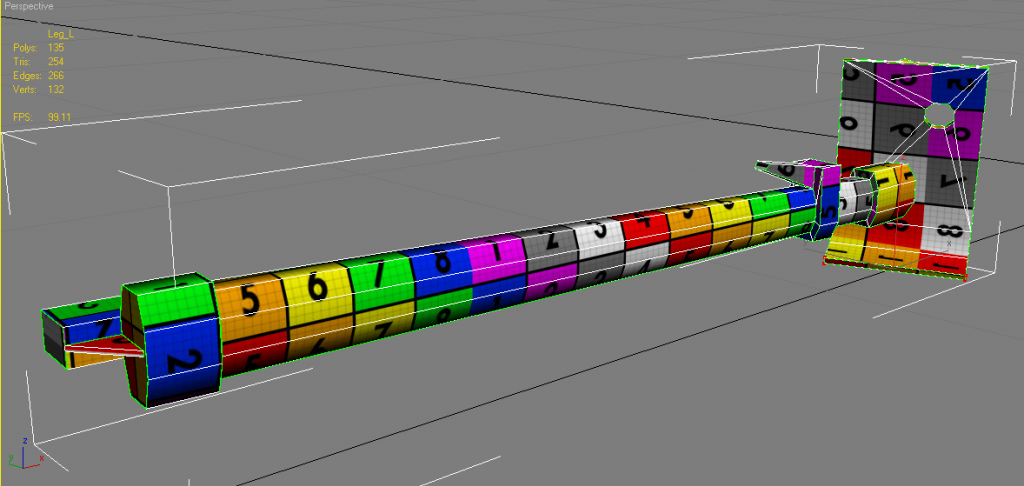
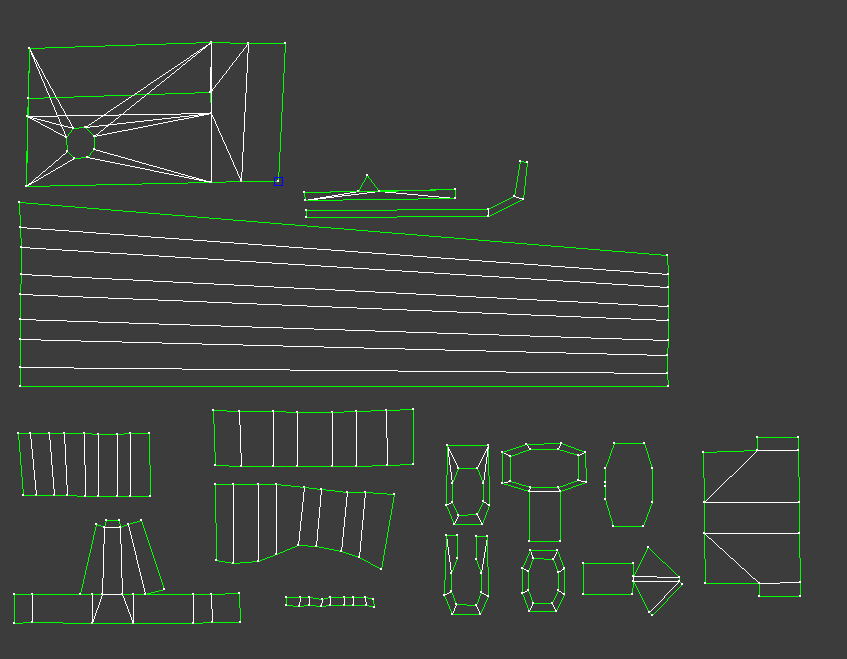
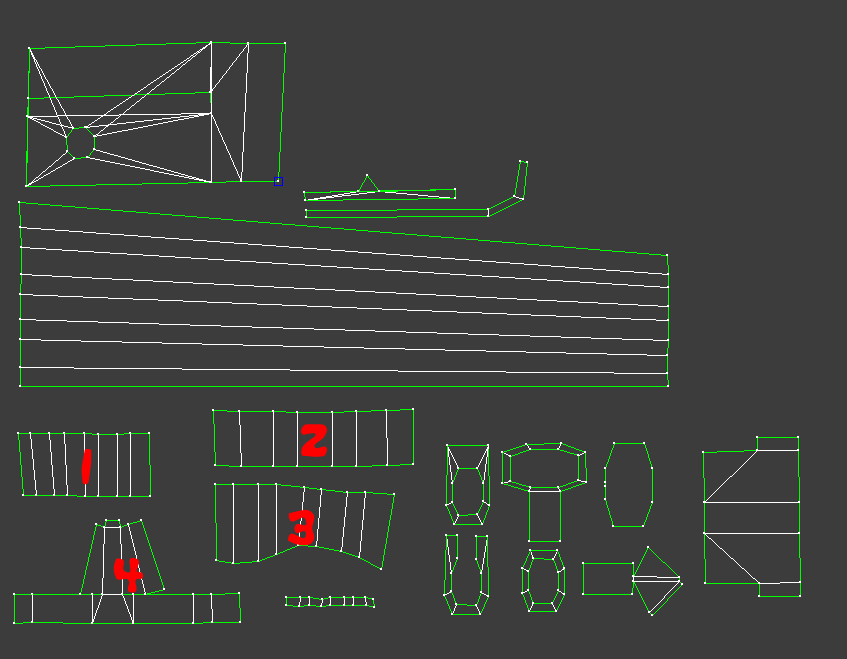
This helps us see any anomalies on the UV, since they are all perfect squares which is what you need to be aiming for and you can also compare the square size to other parts of the UV to see if anything is off. As you can see now I've applied it, there are some things with quite screwed up UVs, such as the mag, bipod legs etc:

If we look at the mags UV, while the UV itself looks fine, if we detach a face and check where its vertexes are meant to be welded, you can see that this selected UV is meant to go in the top right corner, where its in the bottom left, then the one above it isn't even meant to go in the box you've allocated for it, meant to go on the UV above the other one:


I'm not sure how you did its UVs but ye, its not working

Way I would UV this mag is to select both sides, then expanding the map parameters on the right hand side, uncheck normalize then click on Planar and then align the UV helper to the right axis, but in this case it was already there, hit fit (although not needed for Planar, more for Cylinder etc ones) then you've got a pretty much perfect UV although the indents will be slightly off but in this case, not worth tweaking in this case since they are not very off and to tweak them will more likely mess things up than improve the UV


Doing both sides at the same time also means that both UVs are overlapped so no need to stack them later on manually too
Just showing the two UVs here when moving one off the other:

Some how you've also managed to make the same mistake to the back of your mag wall too:

To fix this I would simply select these faces, then go to Mapping>Flatten Mapping, uncheck normalize and none of the other settings need to be tweaked in this case so just click ok and your done


Then we get a pretty good stitched UV for these faces, although I wouldn't have stacked the back and front sides of the mag wall, they are quite different. But one thing we can see from the UV is that afterwards if we look at the squares, you can see that they are off.

My guess for this is that its the scaling of your model, which if we look at the scaling settings for the mag we can see, its really off...

This is why back and front UV squares are off after the above since the model scale isn't correct. This also brings other problems as your models should all be the same scale (ideally 100%) in order for all the normalized UVs to be the same. Luckily it doesn't seem to affected on your UVs other than the ones which have different X, Y and/or Z scales but what you need to do before doing any UVing or exporting in the future is to select each and every individual object one at a time, click on the hierarchy tab in the top right and click on reset scale and then it will reset it to 100%:


Normally this would be enough but in this case, it wasn't. Dunno what was stopping it from fully resetting but the only way to solve the problem that I could find in this case was to attach the mag to another object that hasn't had its scale messed up, in this case, the body of the weapon. TBH best root is just to attach everything up to the body because of this issue. But after doing this and doing another non-normalized flatten mapping of the back and front as you can see, all fine now:

Anyways my UVs of your mag using the above methods, note packing is just prep work, isn't technically final but will probably stick this way for the most part to keep common parts together in the UV:

Moving onto your butt, you've got a pretty big steam here between the side and the top it would be good to fix up to make the texturing side of things much easier and ensure there are no texture seams, + saves a bit of UV space
First welding up your two overlapped sides which seem to be UVed fine

Then slowly posting the top right vert in postion with the side we want then moving the others up into position as we go, although not making any drastic changes:

Also for the 2nd 1/2 moving the top down

Then welding the verts up you can see we now don't have much of a seam, other than in the middle but that won't be very hard for a texture artist to match up since the opposite seam is just under it

Other side of the butt isn't so important since that's away from the player view in 1p
Same story with the pistol grip:


Now this kinda stacking like this tbh, isn't such a good idea. Your not really saving much space if you think about it on your UV map since these tiny objects can fit in any of the spare nooks and crannies you can't fill up with the bugger UVs anyways but the biggest problem with doing this is AO maps, you basically can't have any on these and ones that are generated you will have to manually delete off which on some parts, will look really bad when they don't have AO shadows on them and other stuff around them dose.

And ye, while I'm at it, how you use the cylinder uv, basically same as planar, but just need to rotate the steam bit so its facing away from the players view as much as possible:


and ye, these top bits should be stitched on like this:

and side and front bits like so:

And all the top bits I was on about before you had stacked up like so:

Anyways that's all I'm going to fix up for today, will send you the latest file and let you try and fix up the rest as there is still quite a bit that needs fixing up but hopefully you should now have a better idea of finding the issues and fixing them
Don't worry about packing at all for the moment we will cross that bridge once the UV is sorted out
Keep up the good work, not far off now!