AncientMan wrote:Heh, it took some searching
First up, open the HeightmapPrimary.raw file in Photoshop. The settings you want to open it with is 513 pixels high and wide, Channel count 1, 16 bit depth, IBM pc byte order, 0 byte header. You want to then flip it vertically, then save it as a .png to say your desktop.
Now download L3DT, which is a terrain editing program.
http://www.bundysoft.com/L3DT/downlo...DT_SE-2.5b.exe
Open that program, go File -> Import -> Heightfield.
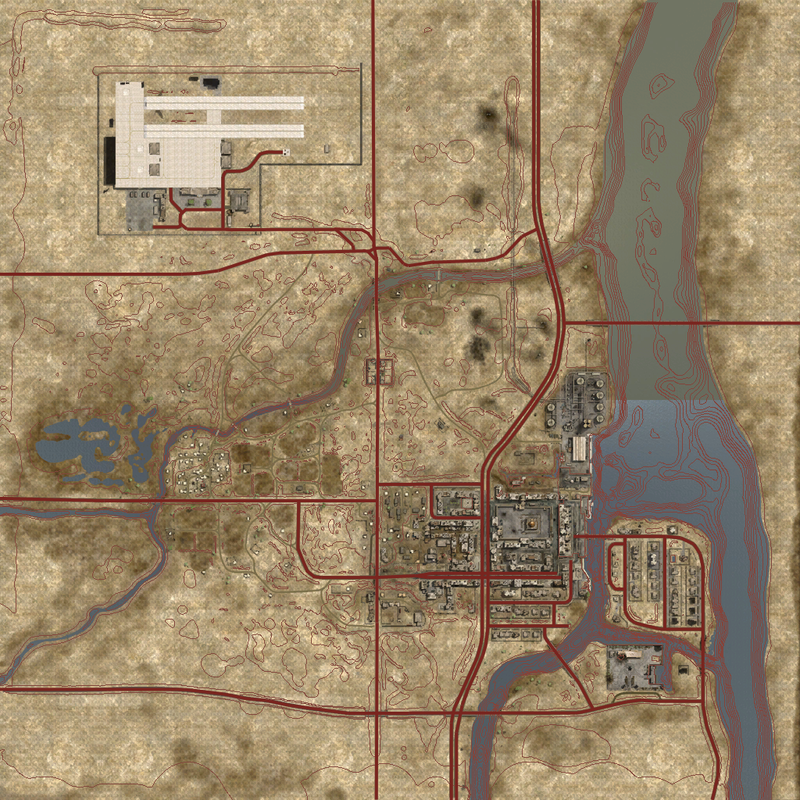
Then go Operations -> Heightfield -> Resize Heightfield. Change it to your minimap size. (Minimap is in client.zip/Hud/Minimap/ingameMap.dds). OGT's minimap size is 1024x1024. So in L3Dt, you will want to resize the heightfield to 1024x1024.
Now go File -> Export -> Export Active Map. File format is PNG, filename can be whatever, save it to wherever, say your desktop again. Then quit out of L3DT.
Now you want to download and install another program, called Wilbur.
http://www.ridgenet.net/~jslayton/setup.exe
Open that program, then go File -> Open, and choose your file you just exported out of L3DT.
Now go Texture -> Other Maps -> Contour Map...
Settings I chose were: 10, Constant, White, Black, Unticked. However, I only found that the Contour interval and the background colour were the only things that changed, even with the other settings being different... Don't know what's with that, but what you get is what you need anyway.
Now comes the tricky part. I couldn't find a way to save that picture (The save part in the program saved it back as the shaded map with no changes), so in the end I had to take a screenshot of the thing (Print Screen on your keyboard, then paste it into a photoshop picture). That wasn't tricky, the tricky bit was my screen resolution (1280x1024) was too small to fit the entire 1024x1024 picture. So I had to take 2 screenshots, then merge them together in photoshop making sure the lines were matched up perfectly. If you have a bigger screen resolution (1600x1200 or higher, it should be much easier for you). Now make a new 1024x1024 image in photoshop, with transparent background. Paste in your contour map, and move it so it fits perfectly in, with no white spaces around the sides.
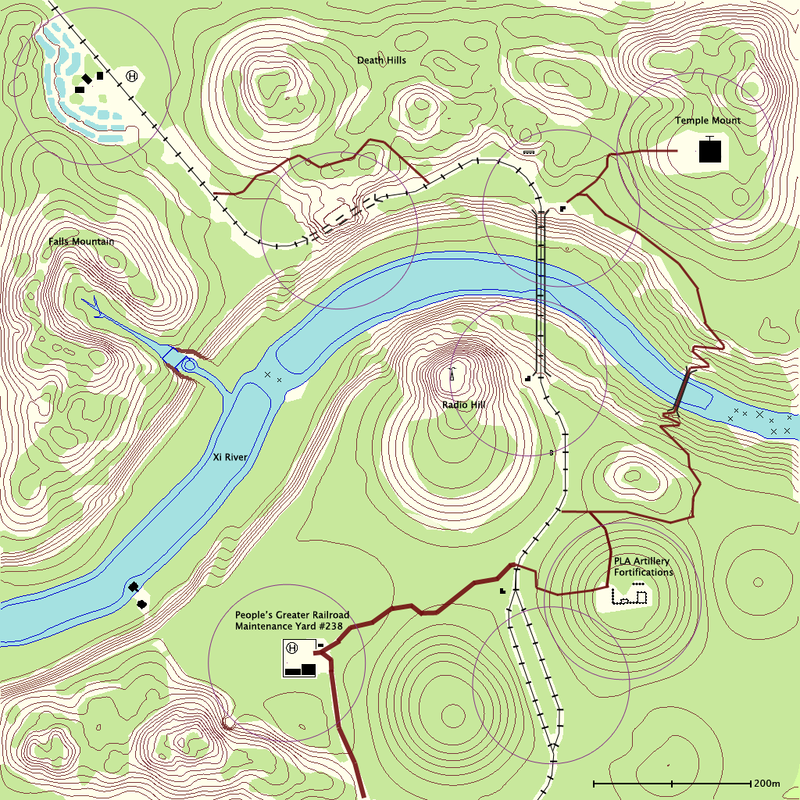
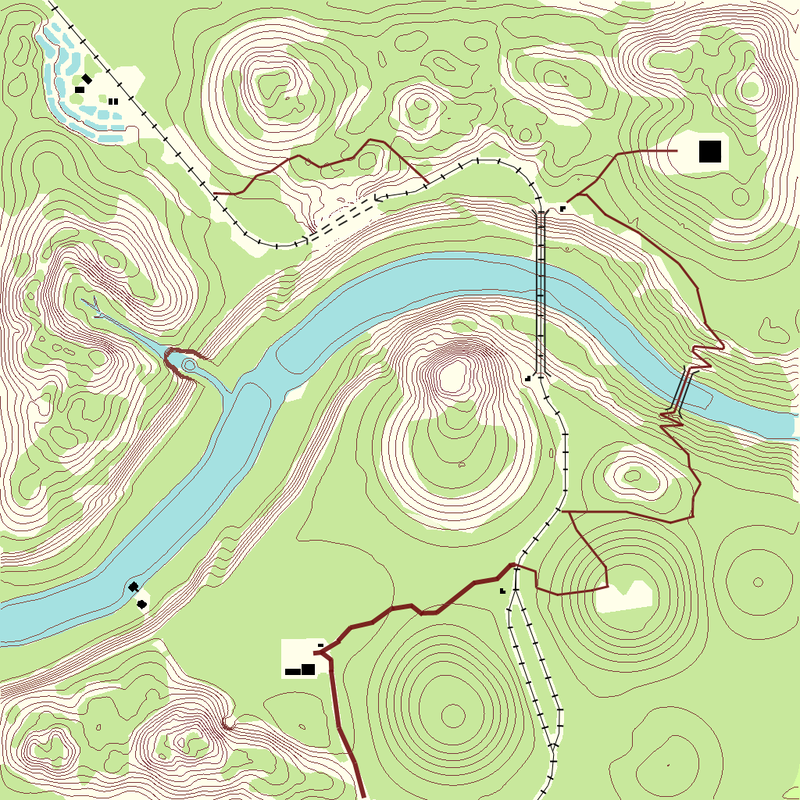
You can now quit out of Wilbur when you have successfully put your contour line map in Photoshop. Now open up your inGameMap.dds file, and put your 1024x1024 map in as a new layer over the top. Use the Layer blending options to remove the white background as much as you can (everything should come off except for the green contour lines). You should now see that the contour lines match up perfectly with the minimap. If not, well your editing of the contours when you first put it into Photoshop probably didn't go so well, and you left some borders on, or you didn't resize it properly, or something. Anyway, it should match up perfectly.
Now you can change the colour of the contour lines using colour replace or something like that if you wish, and yeah, your done with the contour lines. When your doing the topographic map stuff, make sure to use seperate layers for everything, it makes it easier to edit later on.
I think that was everything that I did, and it should work fine. Probably missed some tiny important bit though, but if you have some troubles, mess around, see if clicking random buttons does anything , and if not, just send me another PM and I should be able to help you. Have fun mate (Christ that was a long PM)


