
UPDATE: (9/11/2013) Normal Map & Ambient Occlusion Map Bake (Render) [WIP]
UPDATE: (8/25/2013) UV Map [WIP] (lots of help from rhino
UPDATE: (7/29/2013) Low Poly Render [WIP]
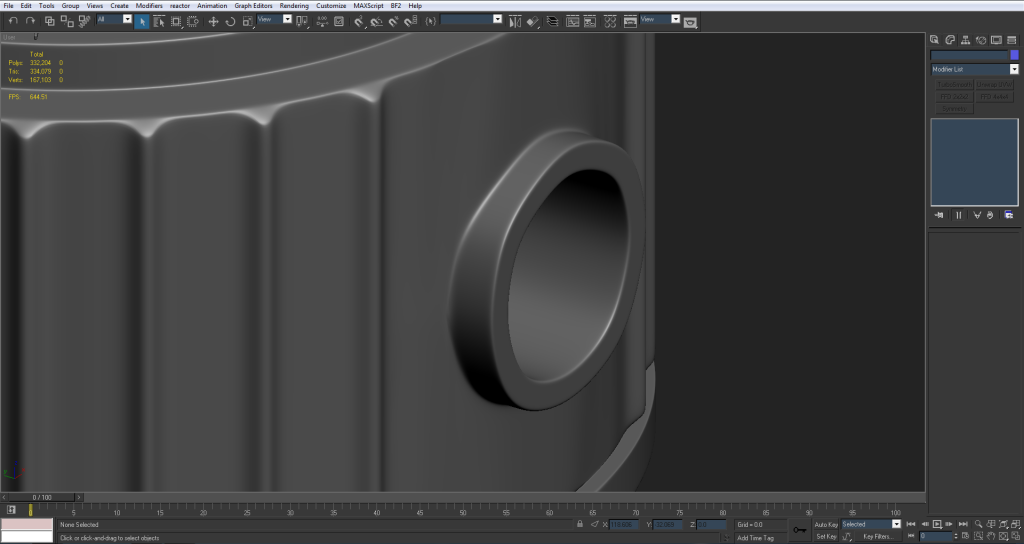
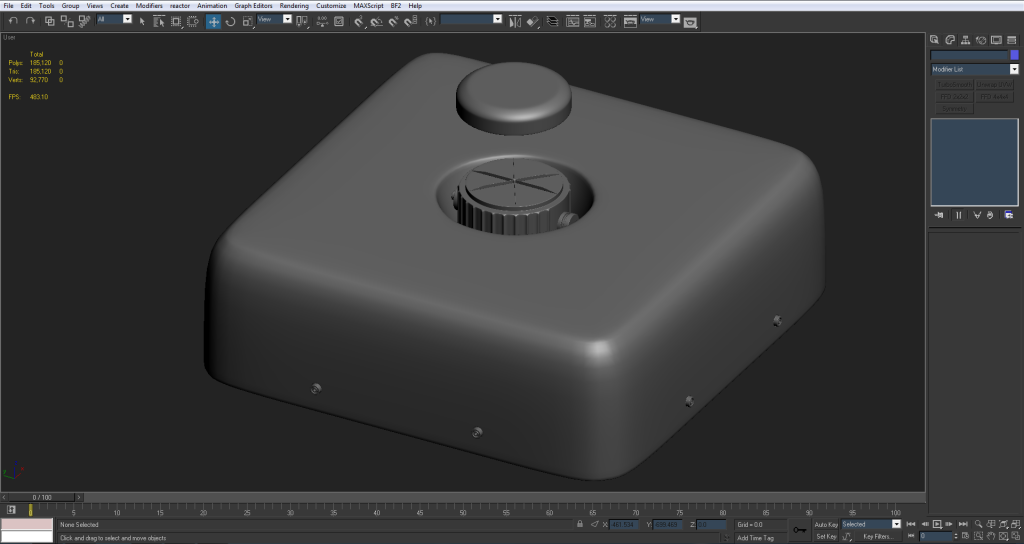
UPDATE: (7/25/2013) High Poly Render [WIP]

START: (7/16/2013)
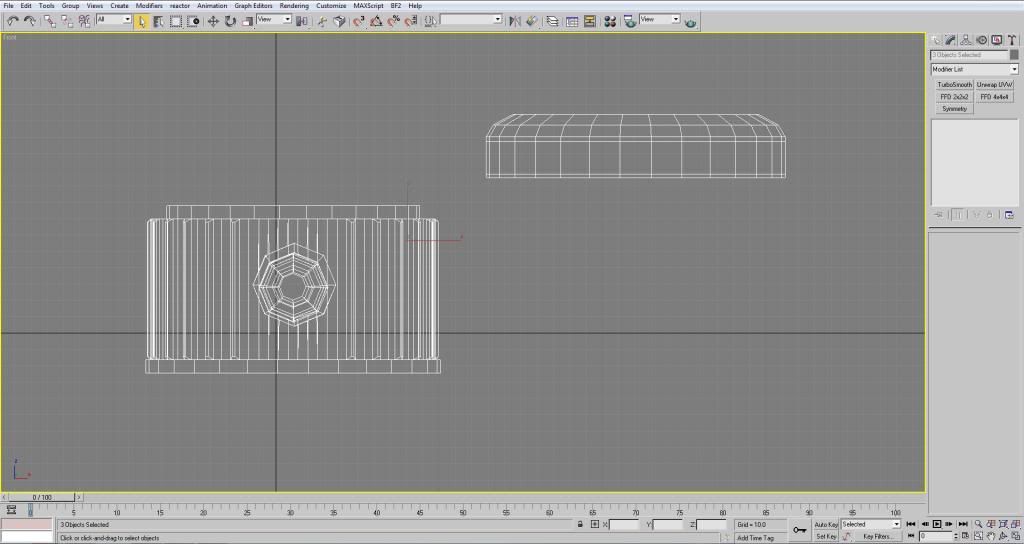
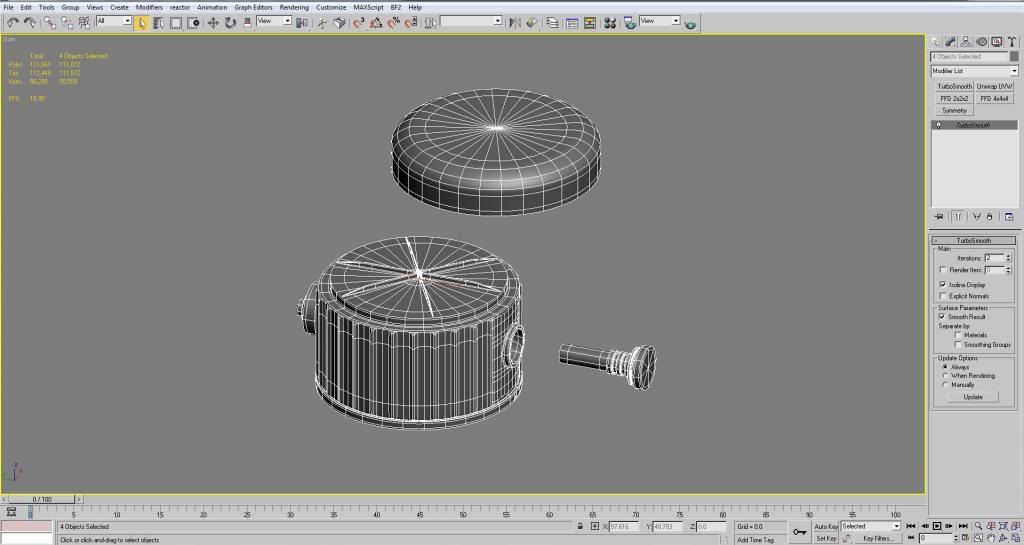
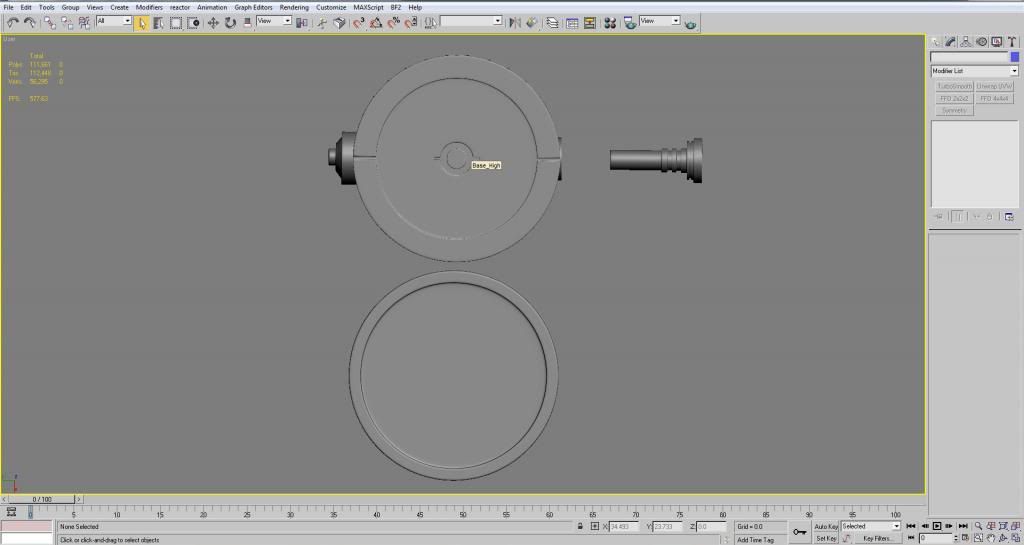
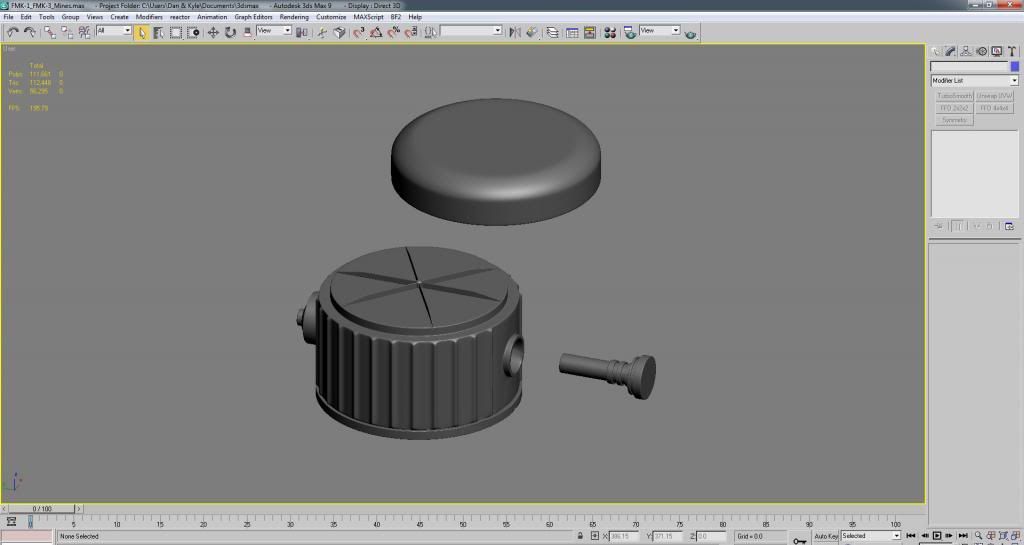
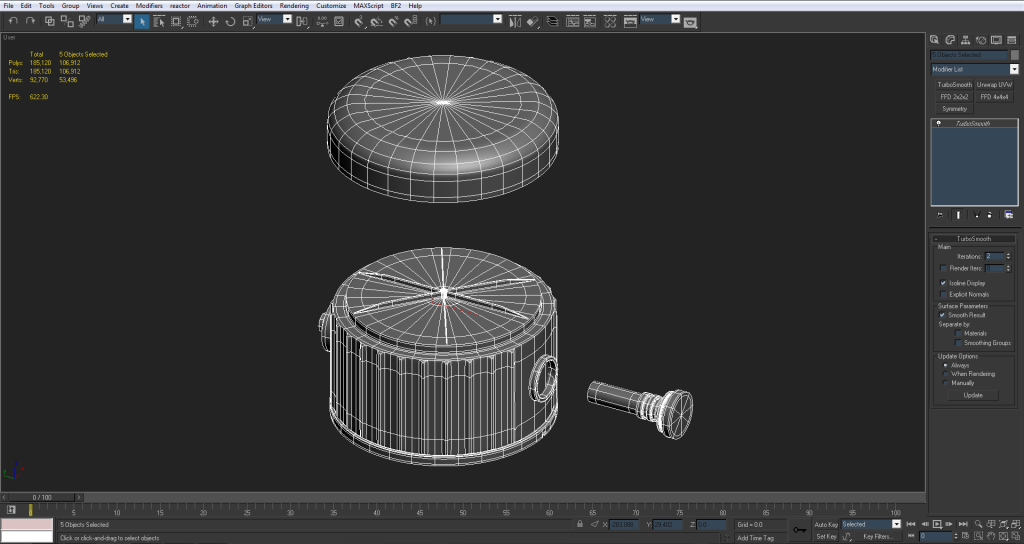
So I've decided to take on the task of creating the Argentinian FMK-1 and FMK-3 mines for the PR:Falklands mod. I started with the FMK-1 and after a few hours I think I've more or less got the shape down.
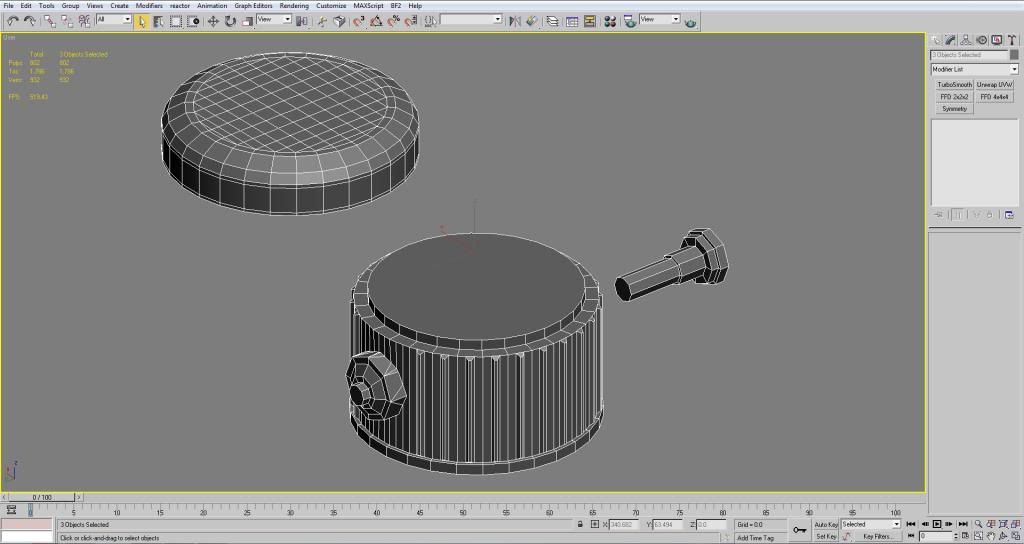
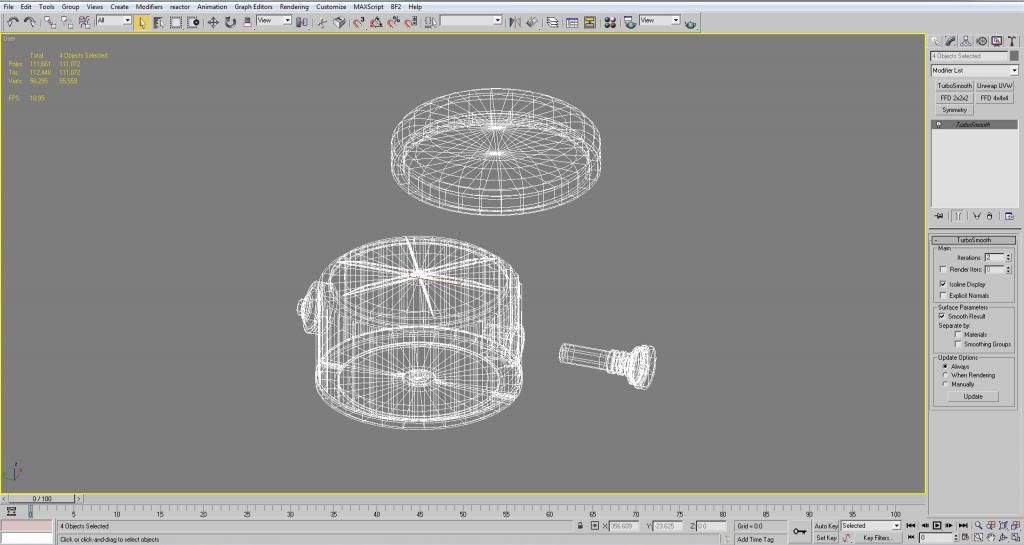
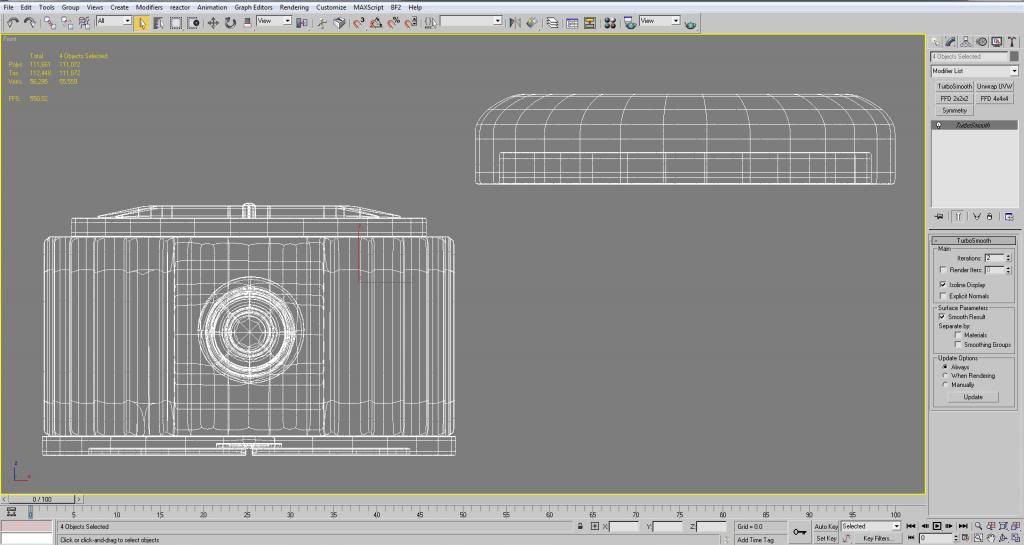
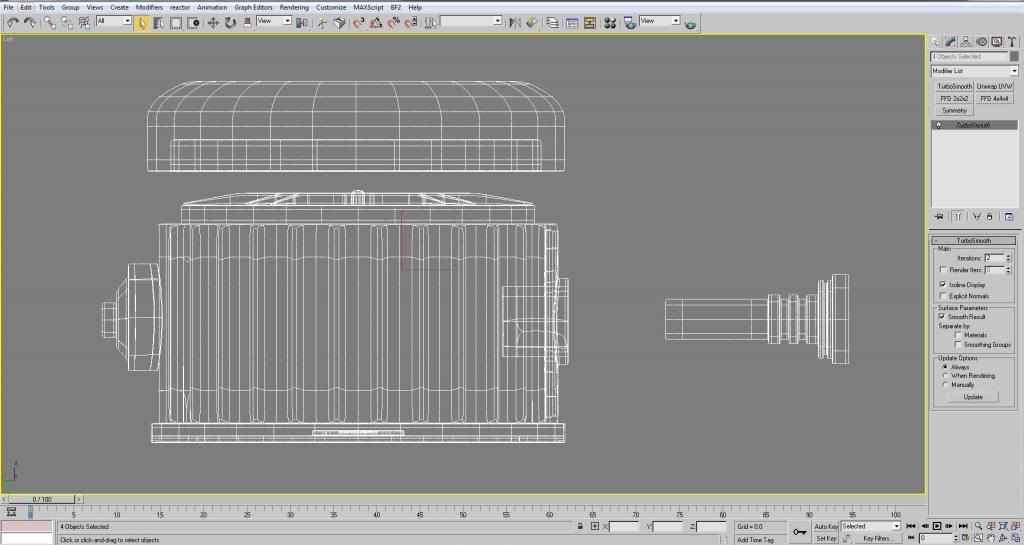
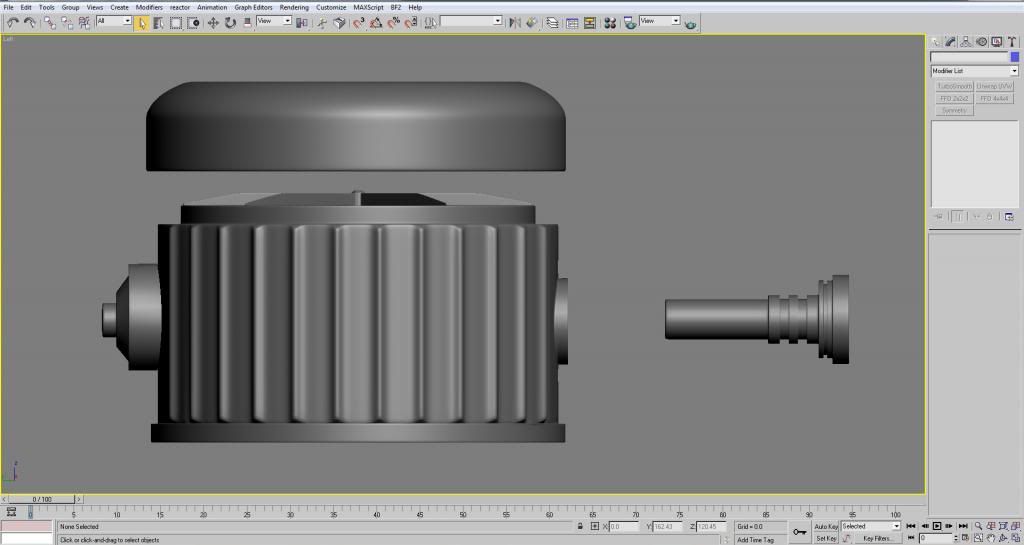
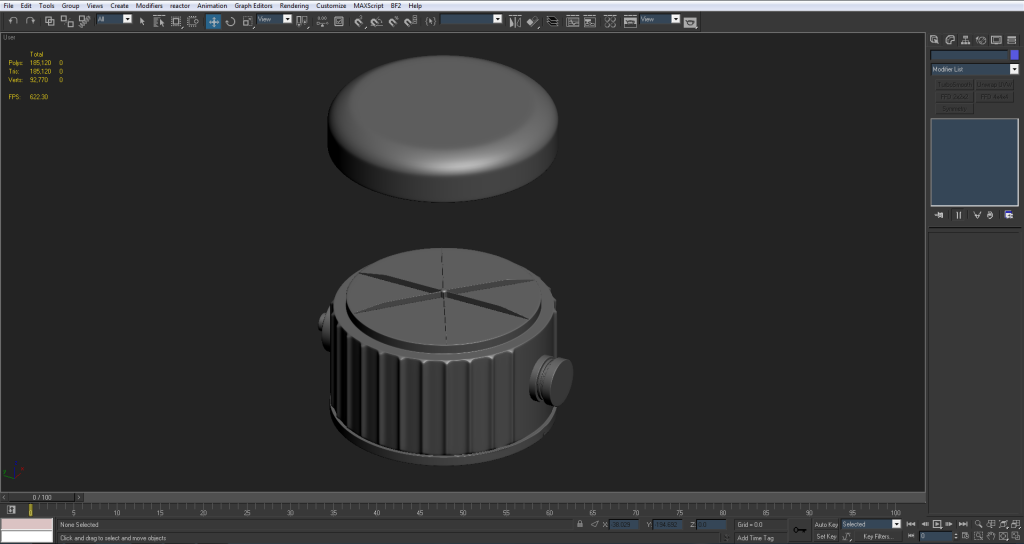
So looking at the references I decided to model it in 3 different parts.
The top, which screws onto the base, the base, and the detonator.
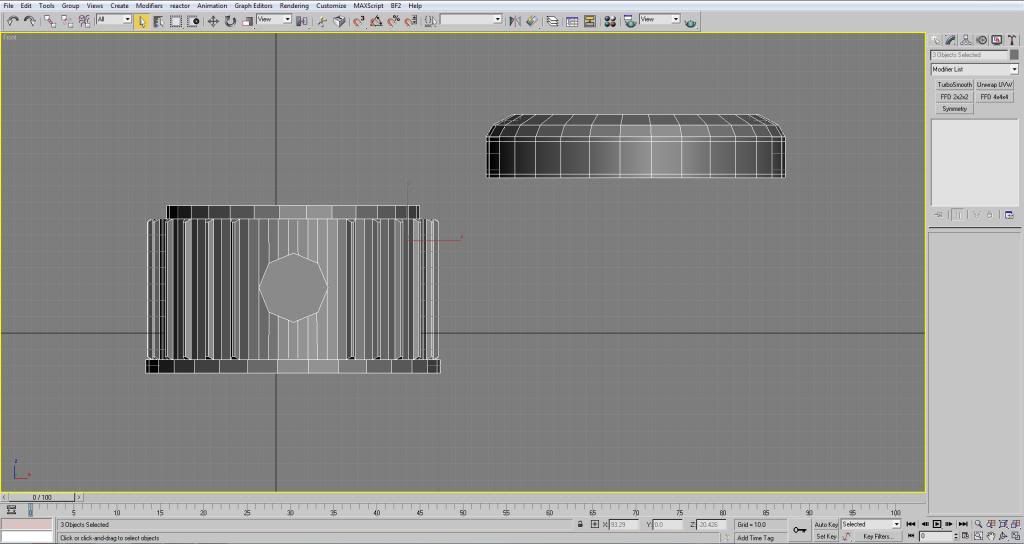
I modeled it with the idea that maybe the deploy animation would need to show these parts coming apart. However, I can quickly change it and put them all into one mesh and save tris. As I think about it that might be a better idea since this still needs the FMK-3.
I didn't keep polys too much in mind as this is going to eventually be the high poly. Right now all three objects weigh in at 1,786 tris. Aside from the top (which has the supporting edges) I still have to go in and add supporting edges to everything else so I can turbo smooth it.
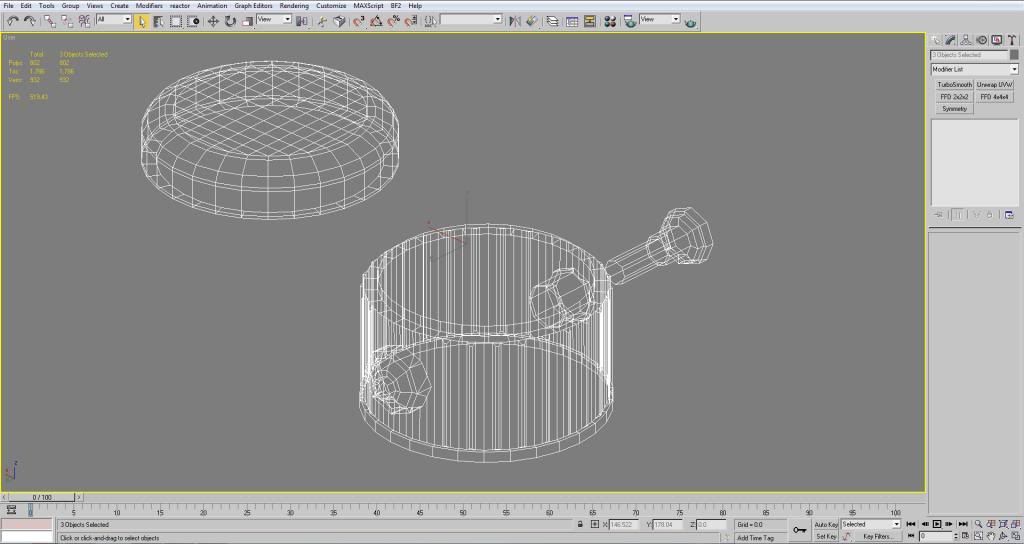
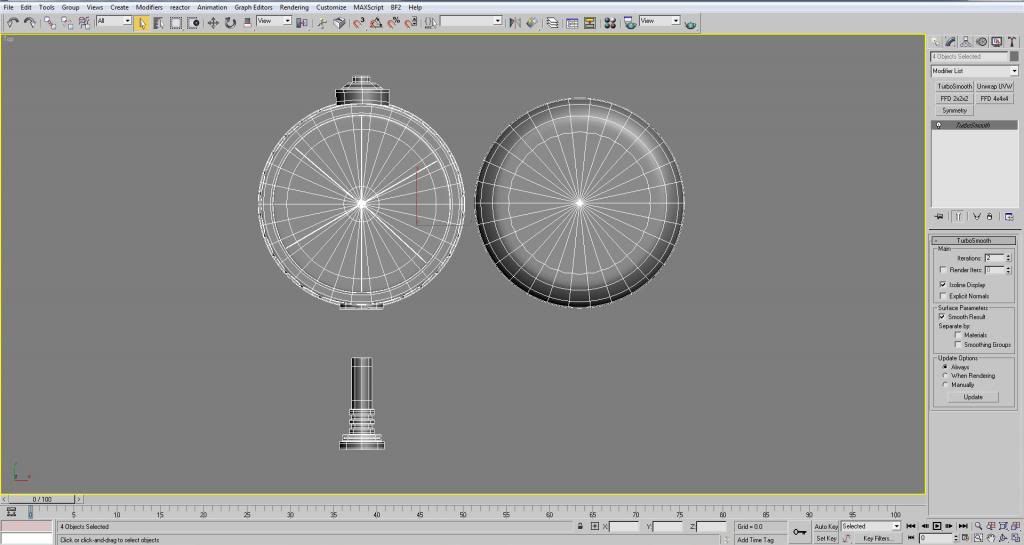
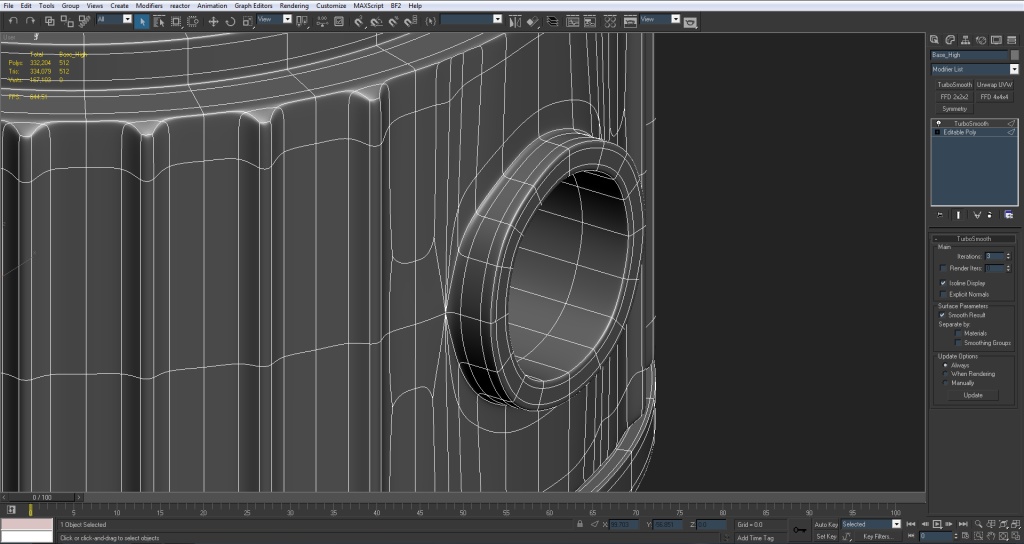
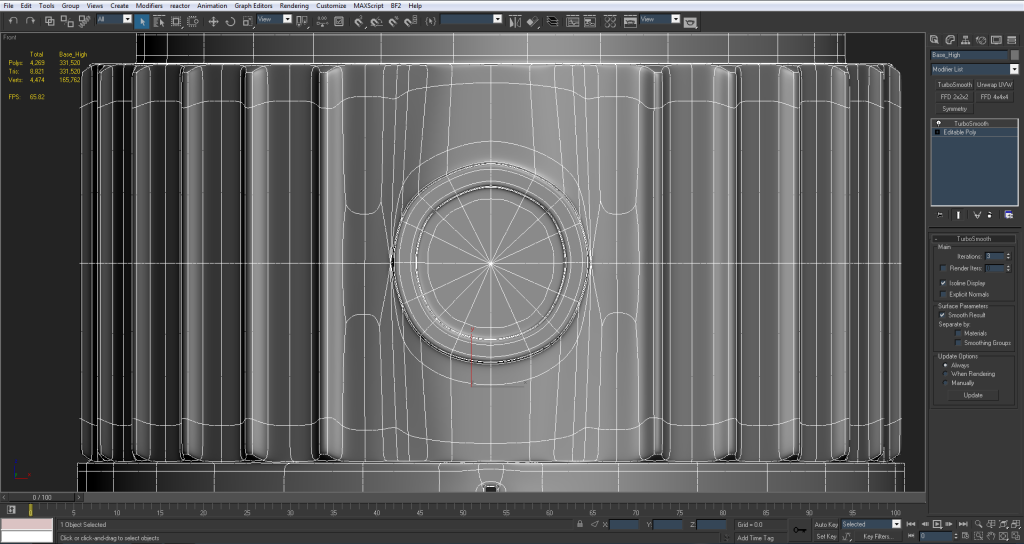
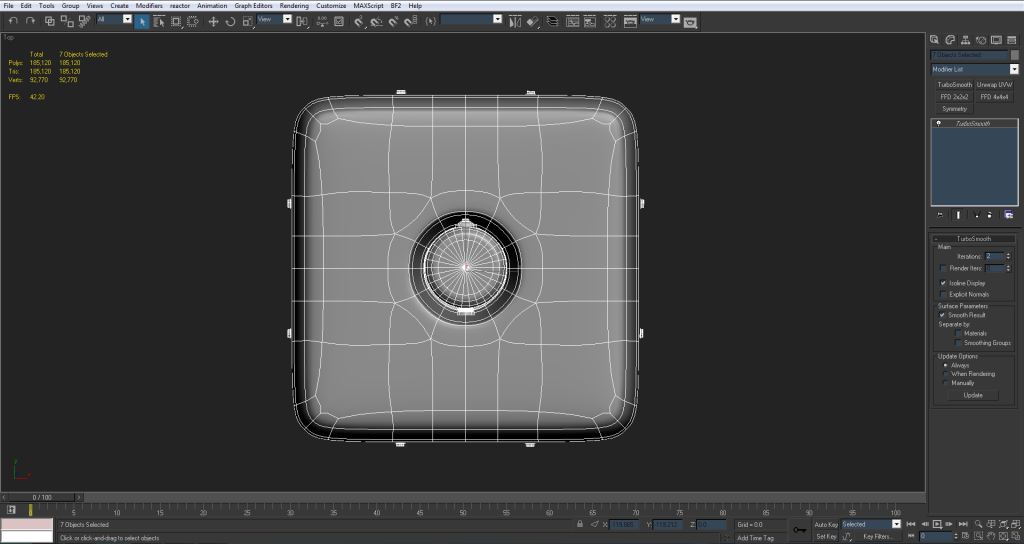
wireframe

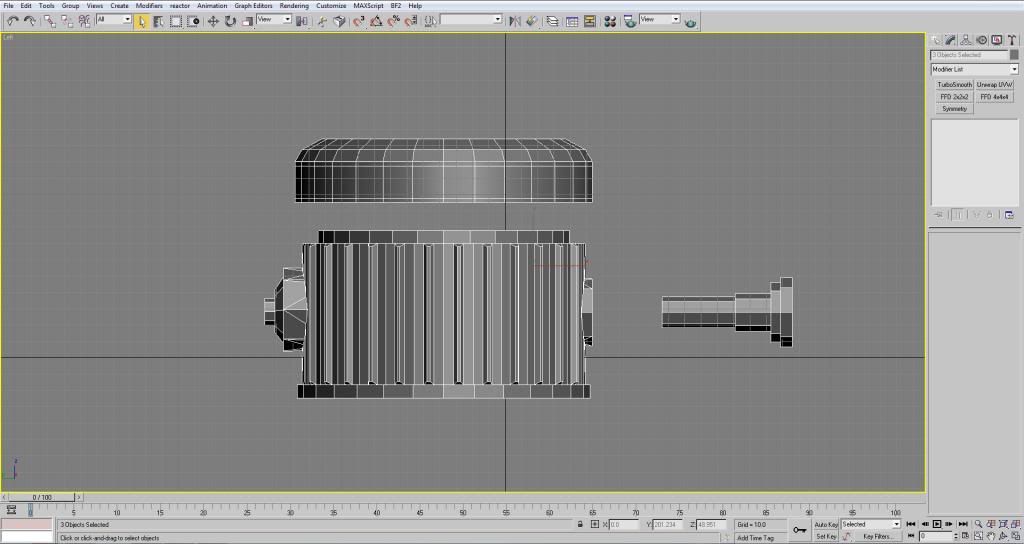
edged faces
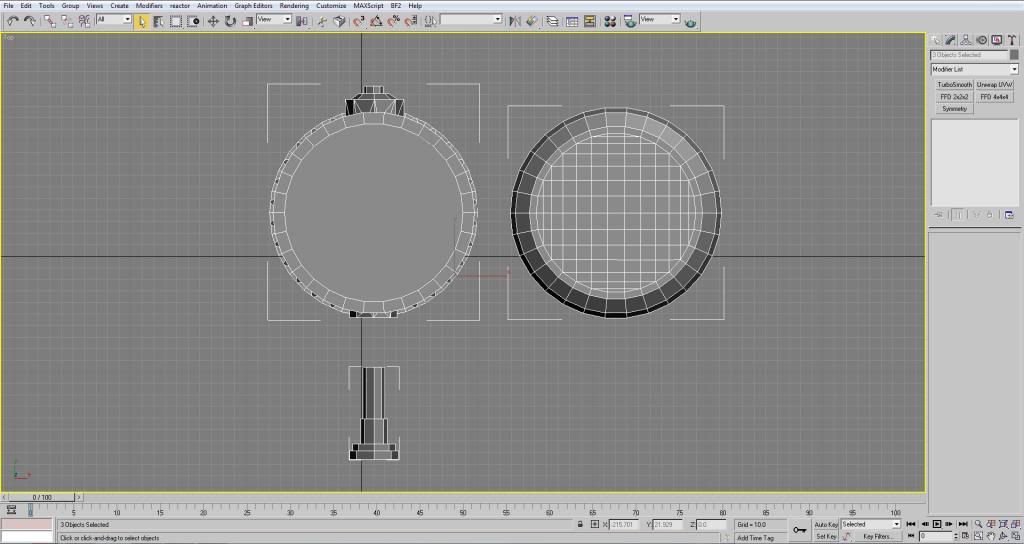
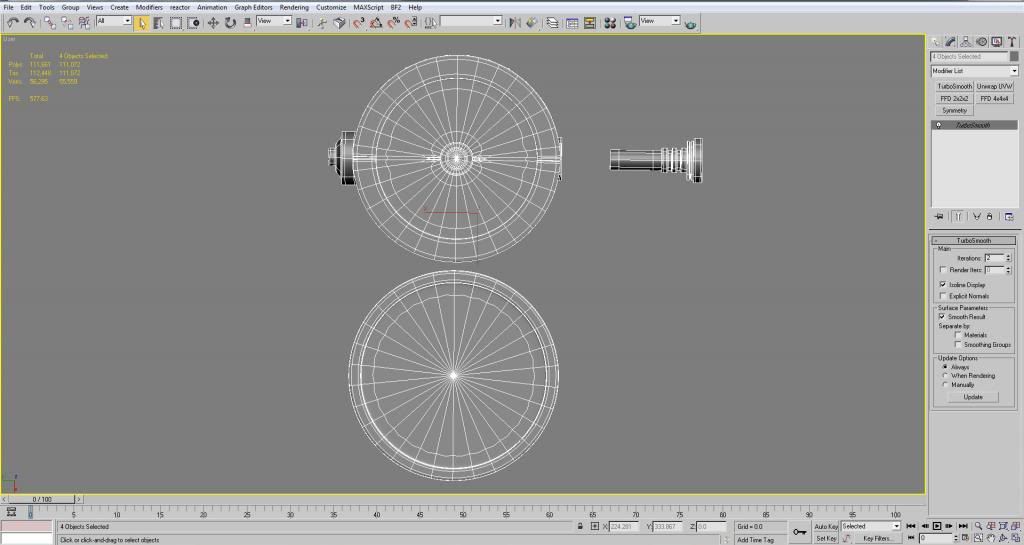
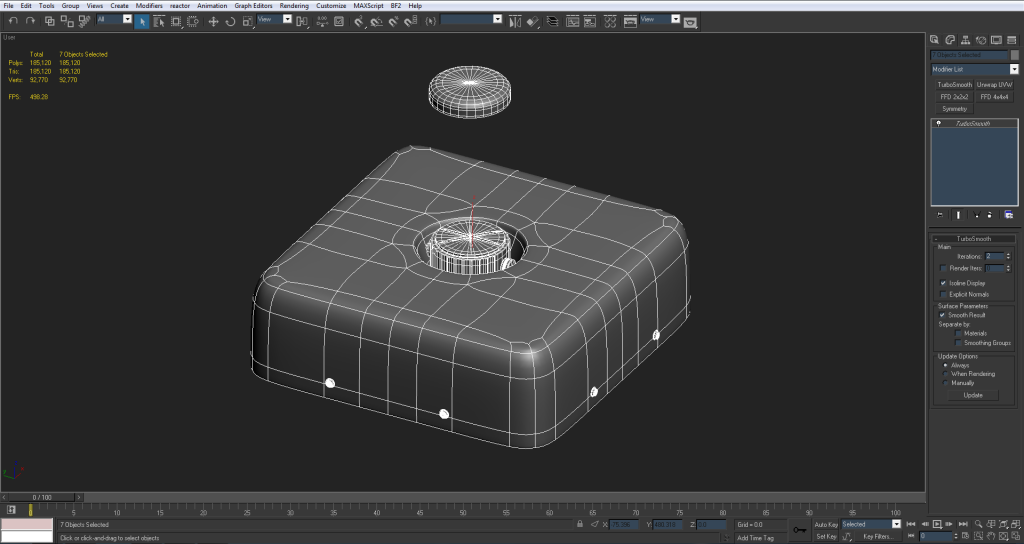
Also I had a question about if this is the right way to connect these shapes to the main body.
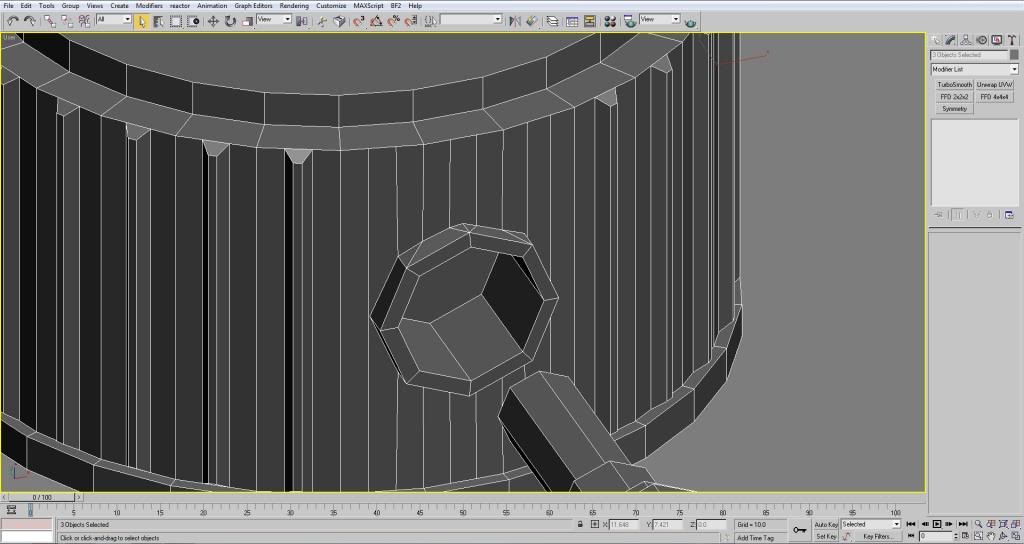

I connected the vertices that end at the edges with other vertices so that I don't end up with a polygon that has 6 sides or something. I just didn't know if it was necessary for me to do this. (probably not since its a high poly)
But I decided to post my progress early so I could get some feedback and wouldn't have to make a lot of changes later. Hopefully you guys can give me some feedback on what I'm doing wrong/right I'd like to use what I've learned here in other models


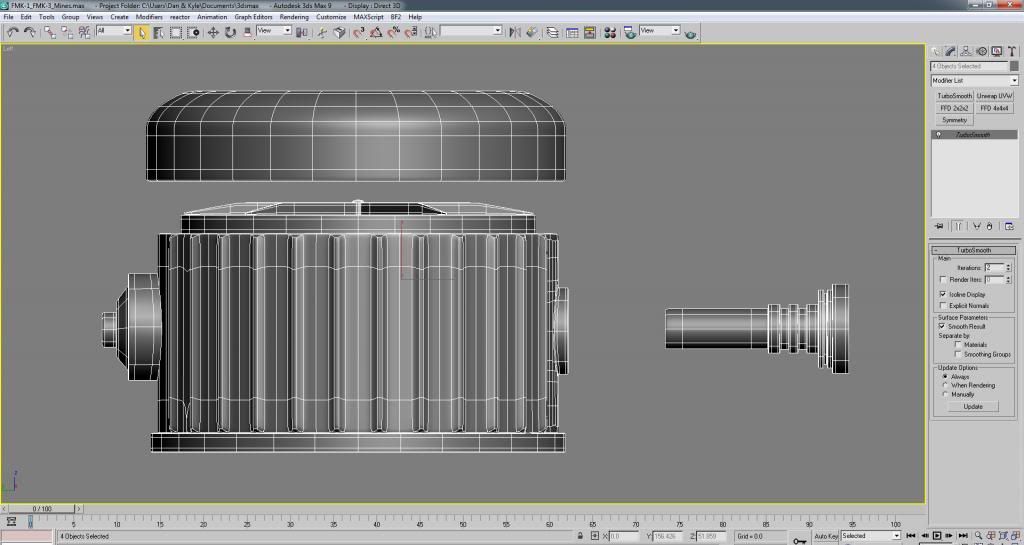
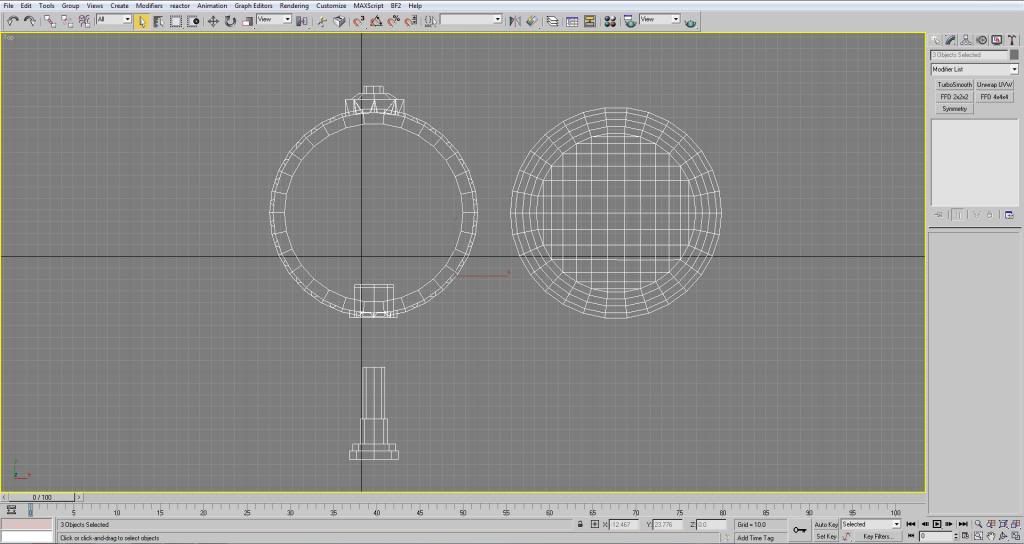
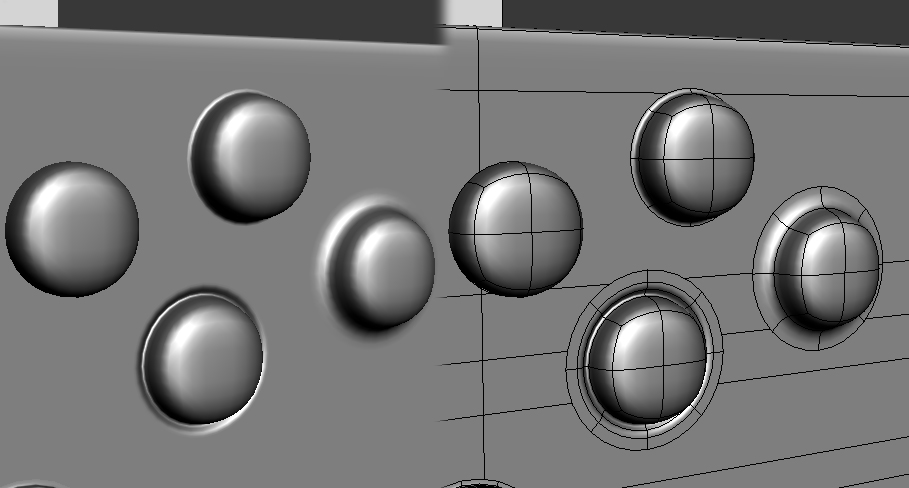
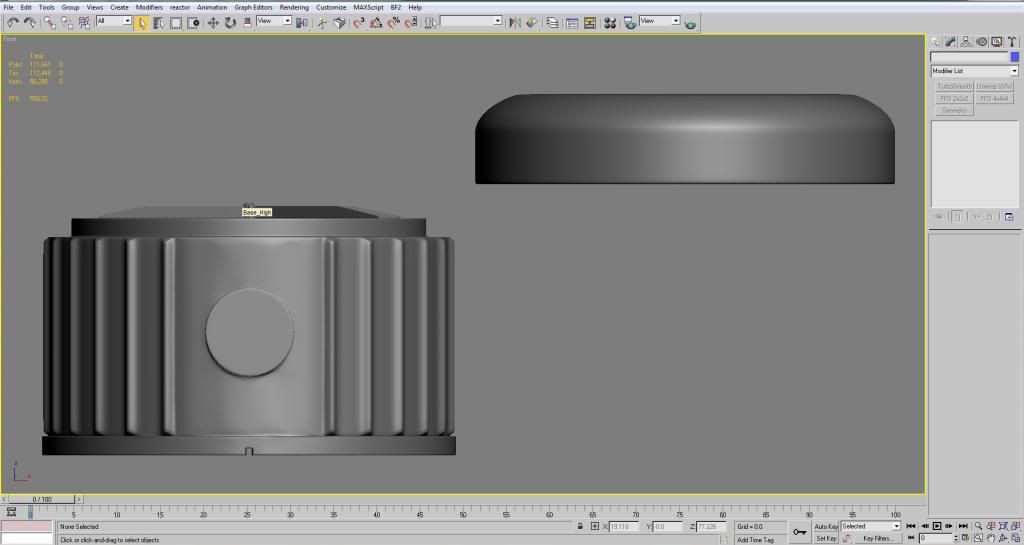 The area around the hole where the detonator goes in. It's still welded to the base and not floating like the other extrusion.


