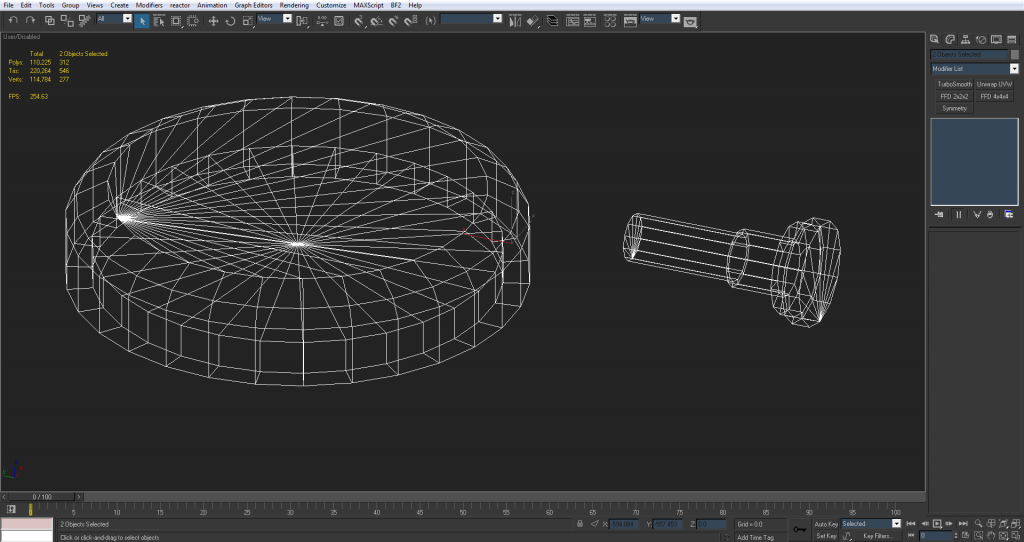
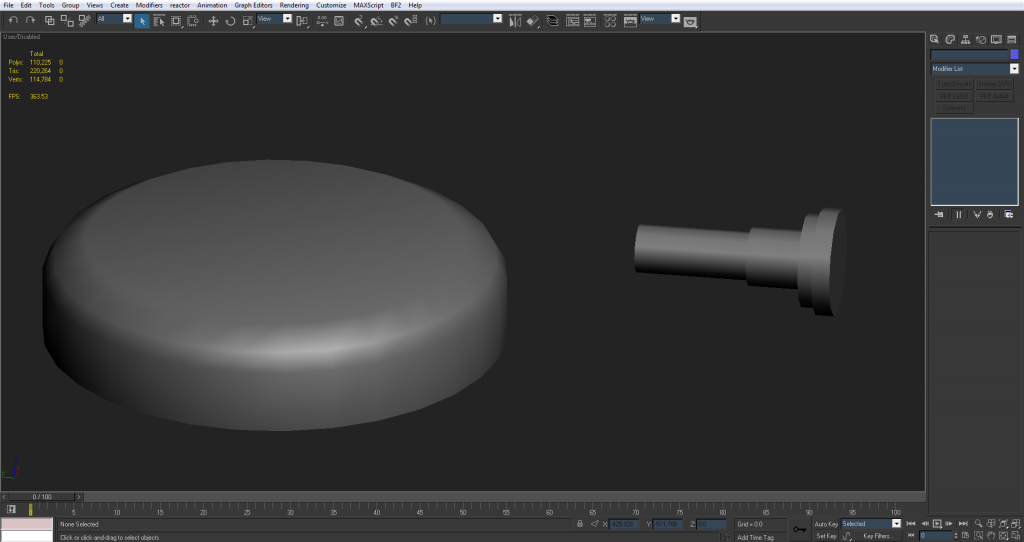
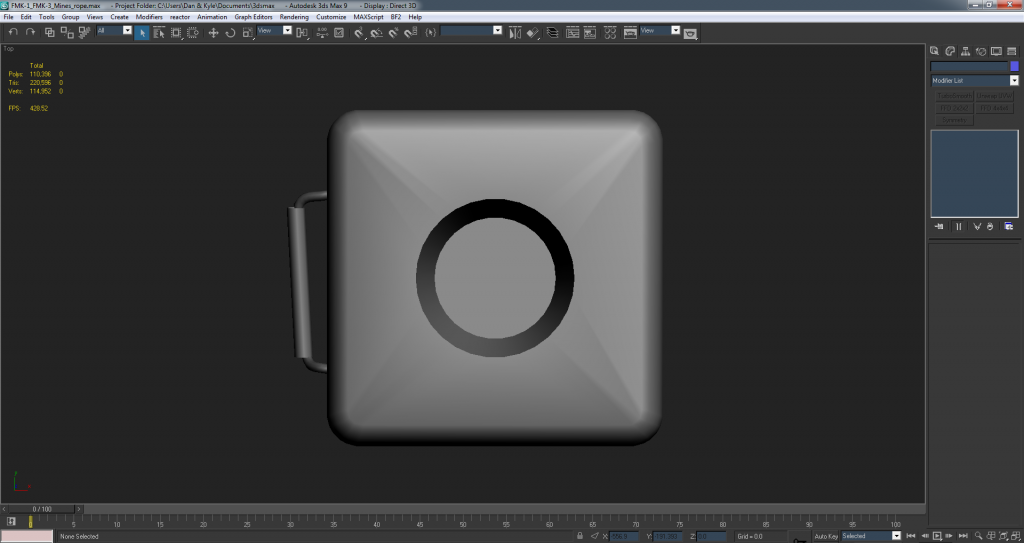
3===SPECTER===3 wrote:I left those bumps on the FMK-1 because I thought it would ruin the silhouette if I took them off? But with the size this will be in the players hand I guess it would make more sense to let the normal map do that....
You would have to spend a lot of tris on the low poly to make them good in 3D and as you said, they are pretty small and don't really have much impact on the silhouette unless looking at it from the top/bottom down so best to do it with normals.
3===SPECTER===3 wrote:Sorry I've never really done a low poly before

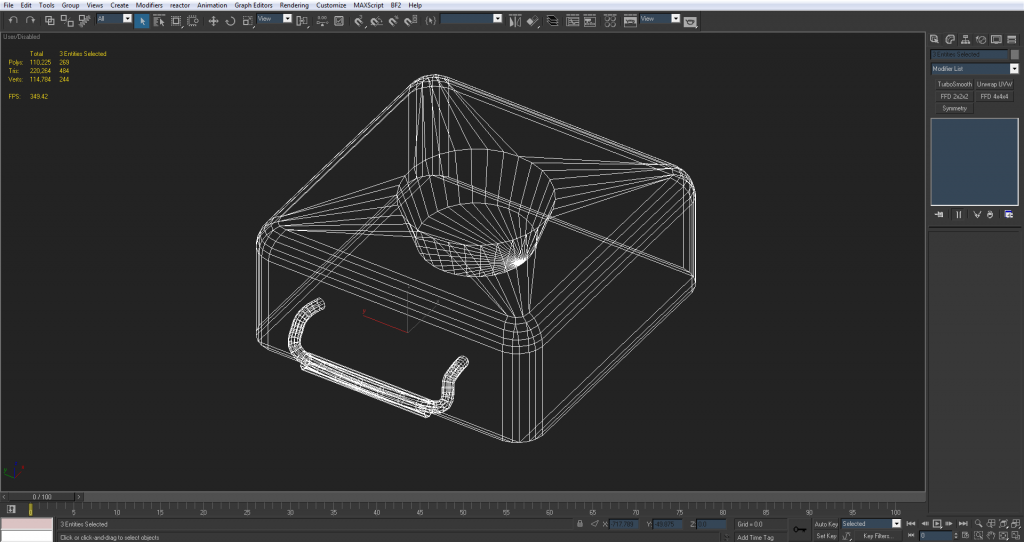
I'm used to letting the turbo smooth do the work and on this I thought I could let the smoothing groups do the work. But I guess the general theory is to spend more polys on rounding everything off and the smoothing groups just help it flow?
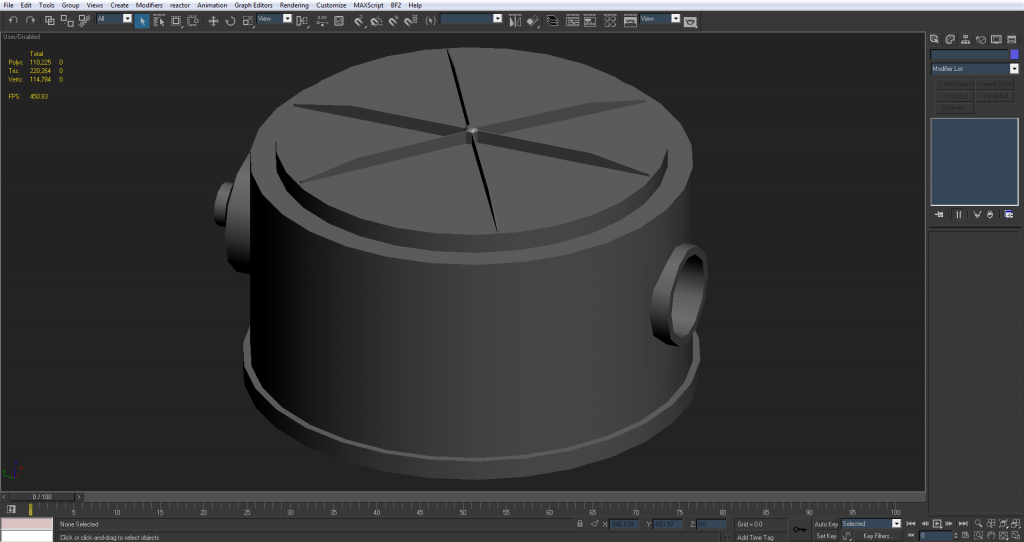
Smoothing groups on their own can only do so much, and you still need to control them with the polys otherwise it can do more damage than good.
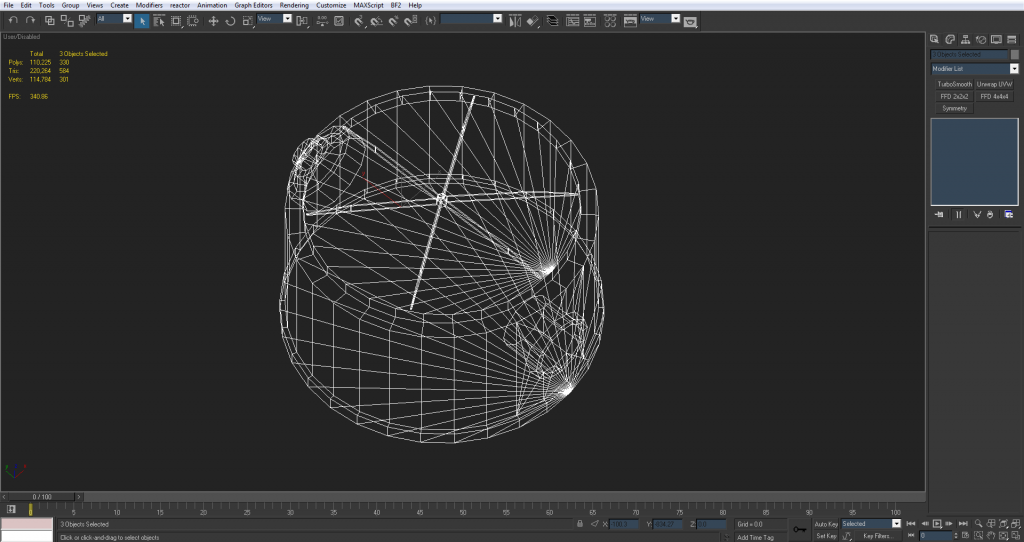
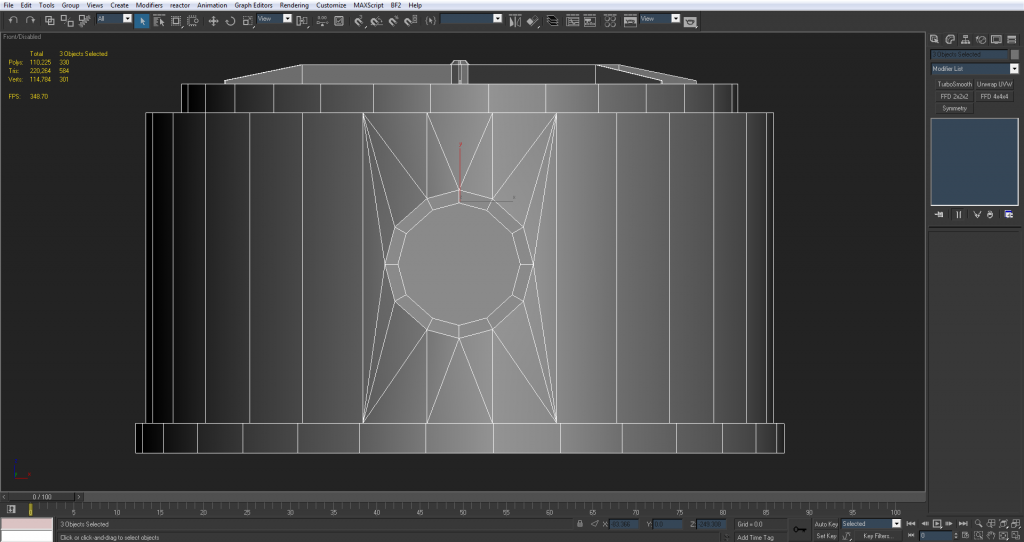
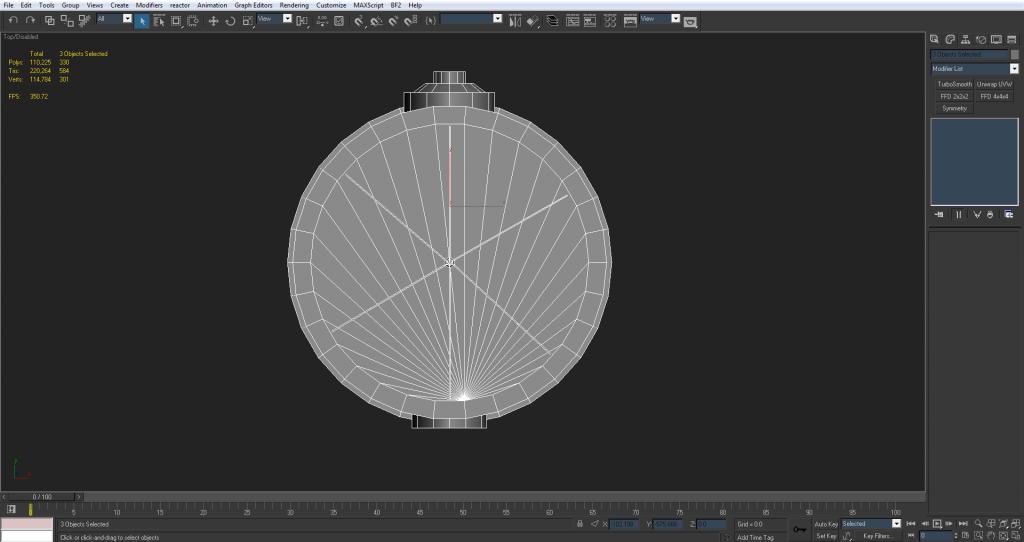
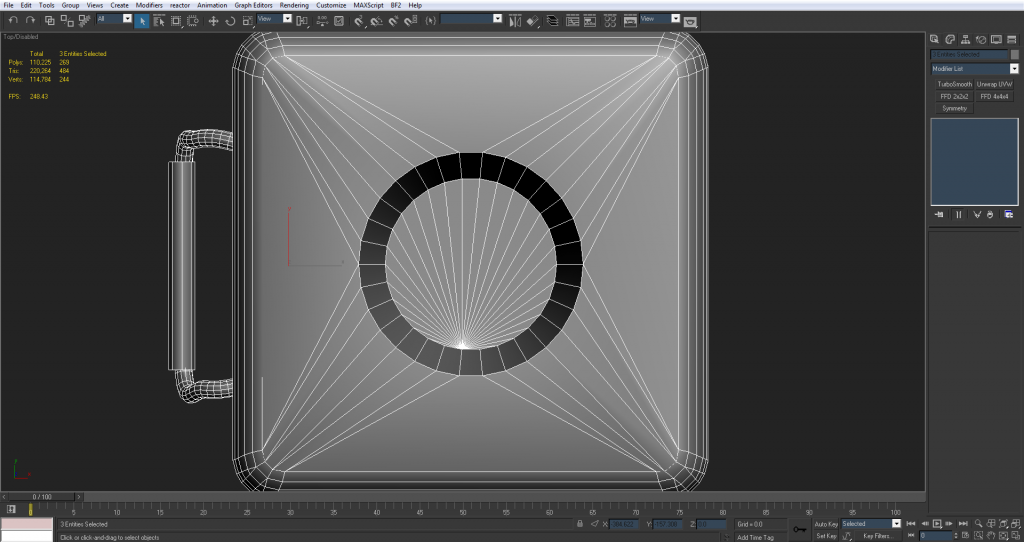
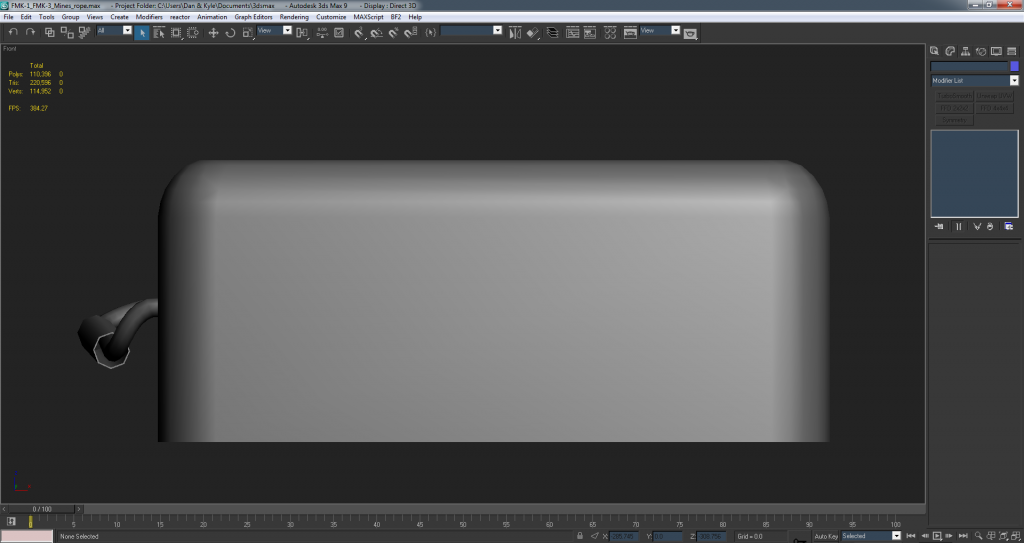
General rule of thumb is bigger things need more tris, smaller things need less tris, unless really close to the players camera in the case of 1st person stuff but that doesn't really apply for this object. Since the FMK-3 box is the biggest item there, and its smoothed edges are pretty large, it needs many more tris than you have given it, as well as the inner bit the FMK-1 goes into needs to also be rounder too, about the same amount of sides the FMK-1 has, if not slightly more for being slightly larger, not less and speaking of which, your FMK-1 needs slightly fewer sides but that should happen when you take the lumps off with any luck.
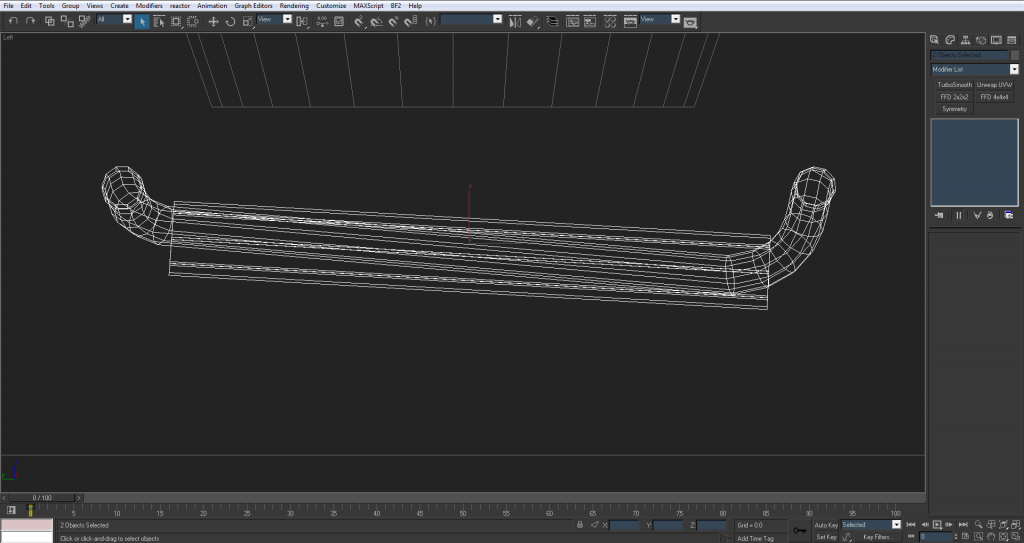
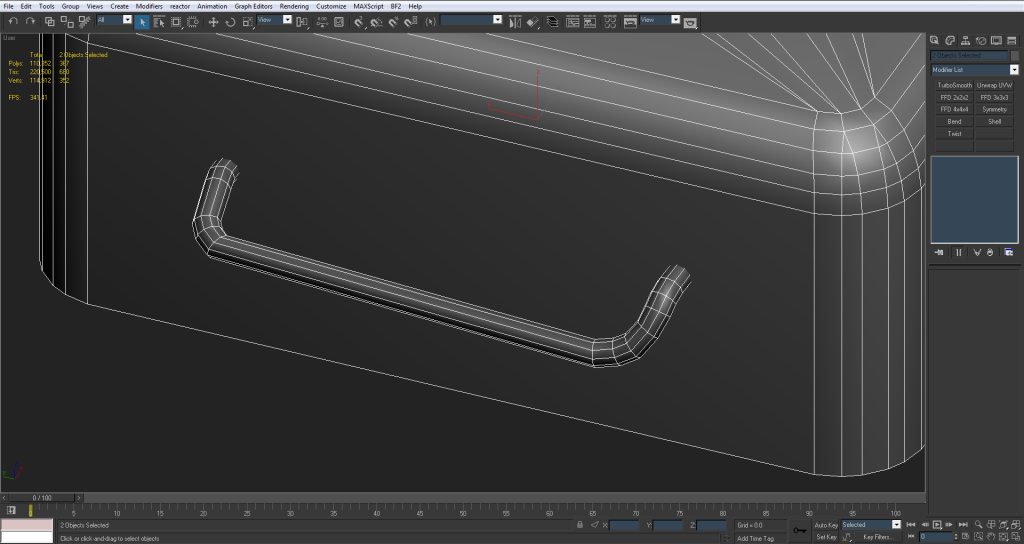
3===SPECTER===3 wrote:Yea the rope right now is a cylinder extruded along a spline. Maybe that's not the right way to do it? Because I think you have it done differently in that UV example you showed me (since right now I tested the UVs on it and I can't seem to get them to work like you did)
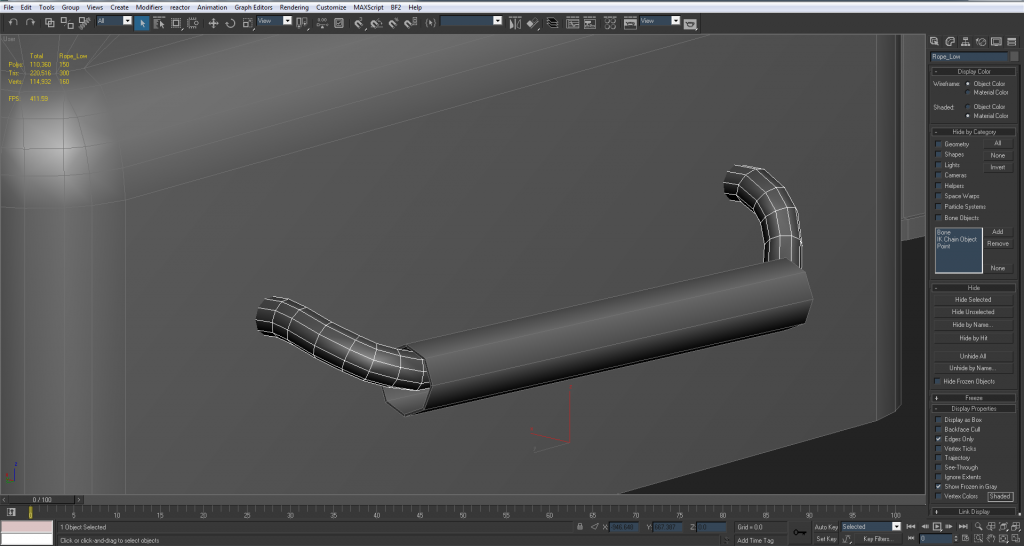
Basically select the line tool, plot a few points like so, then expand the rendering tab, click the enable render buttons (mainly viewport) and the generate mapping cords and real world map size I talked about before (which will give you decent UVs by the end) and in this case you want to select Radial and then set up the amount of sides and the radius you want your rope to have and then you will get something like so:


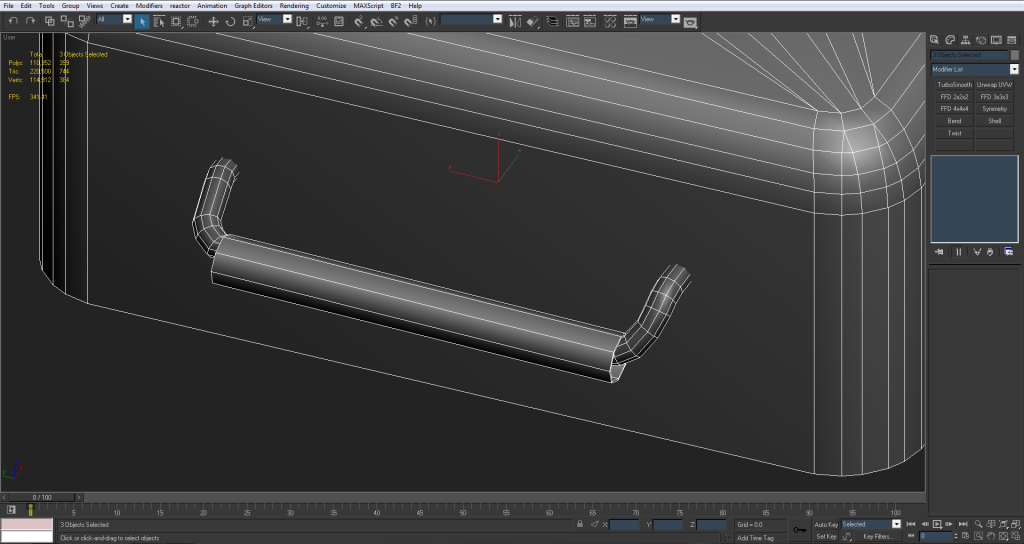
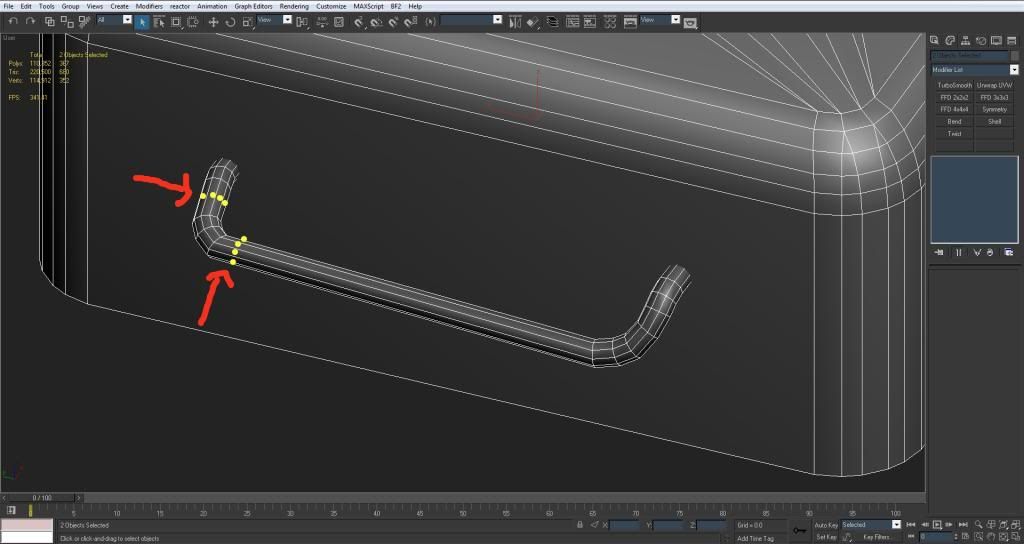
Next if you then select all your verts, right click and click on smooth, you will then get a nice smooth rope between all your points, and then you will possibly want to up your auto smoothing threshold angle if you've got only a few sides to your rope and will also want to possibly take your Interpolation steps down a bit which basically controls how many times your rope is smoothed a bit like TurboSmooth, but only though the line and doesn't control how many sides the rope has.

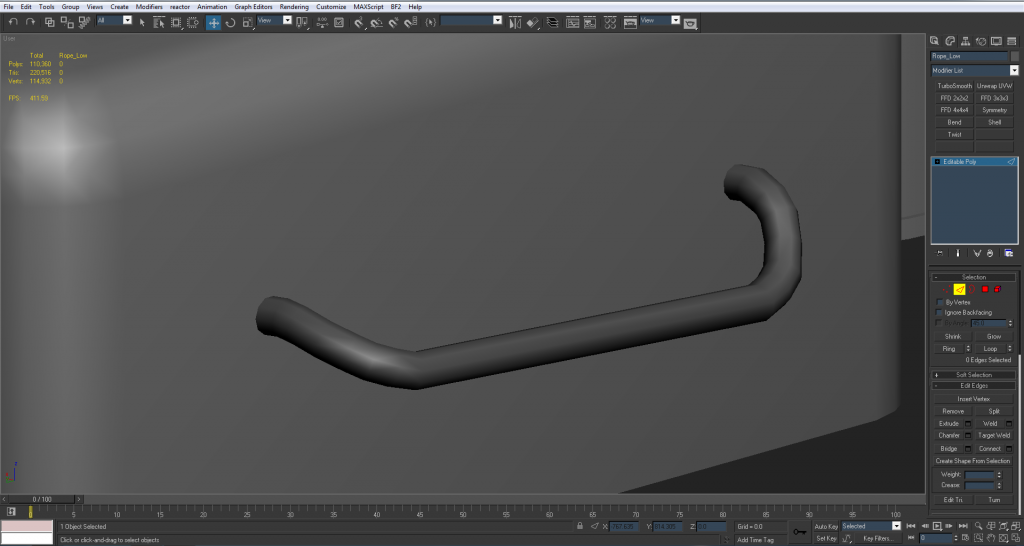
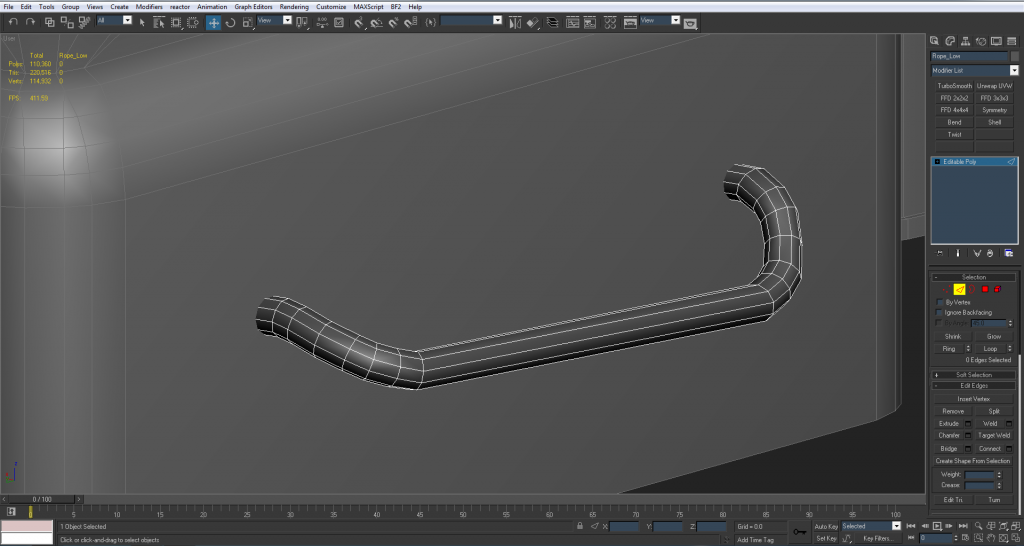
And then its just a matter of playing with the verts till you get something like what you want, just a quick example:


Then once your 100% happy with the shape, convert it to editable poly, do some quick optimization on any parts that need it and then your pretty much done, with UVs intact:


3===SPECTER===3 wrote:And yea I'll weld the pin into the cylinder

Ye, just make sure that it doesn't impact on the smoothing too much, although any it dose will hopefully be cleaned up by the normals