'[R-DEV wrote:Rhino;707090']Alright now I know most of you will have your own little ways you will probably line these up in but I'm going to give a quick tut here to show you the method I've made to put these apartment buildings together.
First of all after this update, due to all the children being removed apart from ladders, satellite dishes and TV aerials to make lightmapping possible so all you will be left with, providing you set these buildings up before the update is just the ground floor sitting where your big apartment building was.

However have no fear, Whino is here!

Before doing anything, you will want to grab all your ground floor types and you will need to snap them to the ground, do this by selecting them all in the resources bar and then on the right click "Snap Objects" on the right and they should all snap to your ground, providing you have you snap settings so it only snaps to terrain, not objects, and best to also make sure you do not have grid snap on otherwise it will snap it to the nearest grid when also doing the snap which might muck up a load of your alignment.
Now for this first example I'm going to be using the "housingblock_1_groundfloor_v2" as my base ground floor, note that it is a "housingblock_
1" and
not a "housingblock_2", as the 1 and 2 versions are different colour setups, as well as the 2nd version is also meant to be a double building setup, thou it can be setup like the others as a single.
First locate the "housingblock_
1_midfloor_v1", "housingblock_
1_midfloor_v2" and "housingblock_
1_topfloor" bits which can be found in the "\objects\staticobjects\pr\citybuildings" folder. Drag and drop these onto your map by your ground floor.
Now first what you will need to do is to align the rotation of your new bits you have dragged in with the rotation of your groundfloor base. My groundfloor base is a nice random -107.1 degs as very little of my map is built onto the grid hehe. So first I need to give all the bits I just dragged in the same rotation, easily way to do this is to just add it manually into the tweaker bar by pasting it into the rotation bit.
Once you have there rotation set up select all the bits you have just added, then select the ground floor last so that your move pivot can be seen selected on it, best way is to just hold ctrl and click on it


Then I have lined up all the anchors so they can all easily snap together, so now with them selected like the above, on the right just hit the "Stamp" button, then "Align" and all your bits will snap onto your ground floor's pivot


All nice and simple hu?
Now you already have the satellite dishes and TV aerials added to your roof as a child to the roof, they wont have any shadows casted on them but it is unlikely they will, if it is a big deal you can select your roof, hit the disable children button and you can place the satellite dishes and TV aerials on them manually
All the rooms in this state will be pretty much bare, so if you want objects like tables and charis to be in them you will have to add them manually, which tables and chairs is all you really need which can also be found in the citybuildings folder
There is no easy way of doing this, just check none are floating etc.
Now for my 2nd example I'm going to do a 4 story version, or is it 5 story? dont matter
It is more or less the same as the last apartment building but as it has more floors its a little trickier than the last.
For my ground floor I'm going to be using the "housingblock_
1_groundfloor" so again I'm going to be using version "1" bits.
So like before, locate the "housingblock_
1_midfloor_v1", "housingblock_
1_midfloor_v2" and "housingblock_
1_topfloor" bits which can be found in the "\objects\staticobjects\pr\citybuildings" folder. Drag and drop these onto your map by your ground floor.
Now like before, you will need to do is to align the rotation of your new bits you have dragged in with the rotation of your groundfloor base.
Once you have there rotation set up select all the bits you have
apart from the top floor so just your mid floors, then select the ground floor last so that your move pivot can be seen selected on it, best way is to just hold ctrl and click on it, then just do the stamp and align, align on them like before and you should have your first set of mid floors setup.

Now as we want 2 more mid floors, simply select your current 2 mid floors, hold ctrl and then drag them up above your current floors, it dont need to be exact just above a little.

Now basically your 3rd mid floor is 10.5m above the ground floor, so find what your y position of your ground floor is, mine is "32.018", then add 10.5 to what ever yours is so mine comes out at "42.518" then select your 3rd floor and add that into its y value. Now your 3rd floor should be snapped nicely to the top of the 2nd floor.

Now if you select the floor above (the 4th floor) and the top bit you have been hanging on the side for a bit, then select your 3rd floor again, then do the stamp align on that and it should all line up

Again you will have the TV aerials and dishes on the roof, but you will need to add other detail by hand
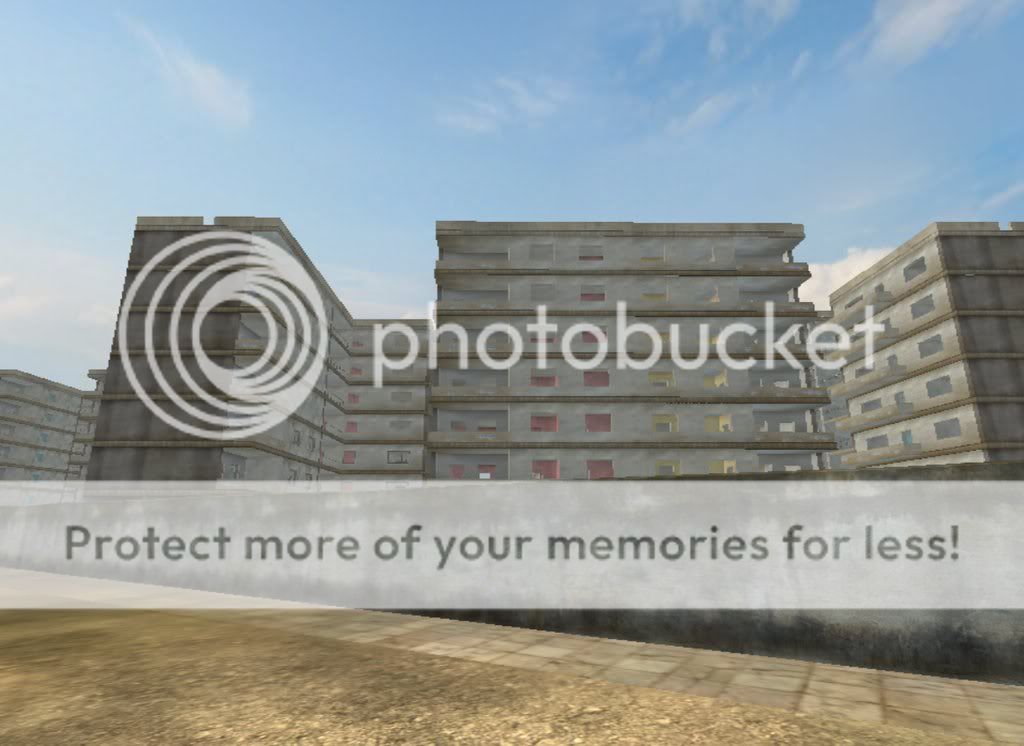
For my next example I will be doing a double apartment building "H" setup instead of the "T" setup we have been doing. For my base I will be using the "housingblock_
2_groundfloor", note the "2" meaning we will be using the 2nd version of these apartment buildings which have a darker colour scheme.

Also note even thou there is at the mo only 1 bit setup, there is the shadow where the old building was with the double setup which we will be redoing.
Now first let drag all the bits we need into the map. Locate and drag these bits into your map:
- housingblock_2_groundfloor_v2
- housingblock_2_midfloor_v1
- housingblock_2_midfloor_v2
- housingblock_2_midfloor_v3 (note, found in the v1 folder)
- housingblock_2_midfloor_v4 (note, found in the v2 folder)
- housingblock_2_topfloor
- housingblock_2_topfloor_v2
Now do the same as before where you line the rotation up with the ground floor base bit but you will also need to add a 180deg rotation onto the following bits:
- housingblock_2_midfloor_v3 (note, found in the v1 folder)
- housingblock_2_midfloor_v4 (note, found in the v2 folder)
- housingblock_2_topfloor_v2
The easyist way to do this is just to select each one, grab the rotation tool and right click twice on it on the correct axis to rotate them 180 extra.
Once you have done all that, select all the new bits, then select the ground floor last and then do the old stamp align, align and they should all snap into place.

Again you will need to add inside and ground detail by hand
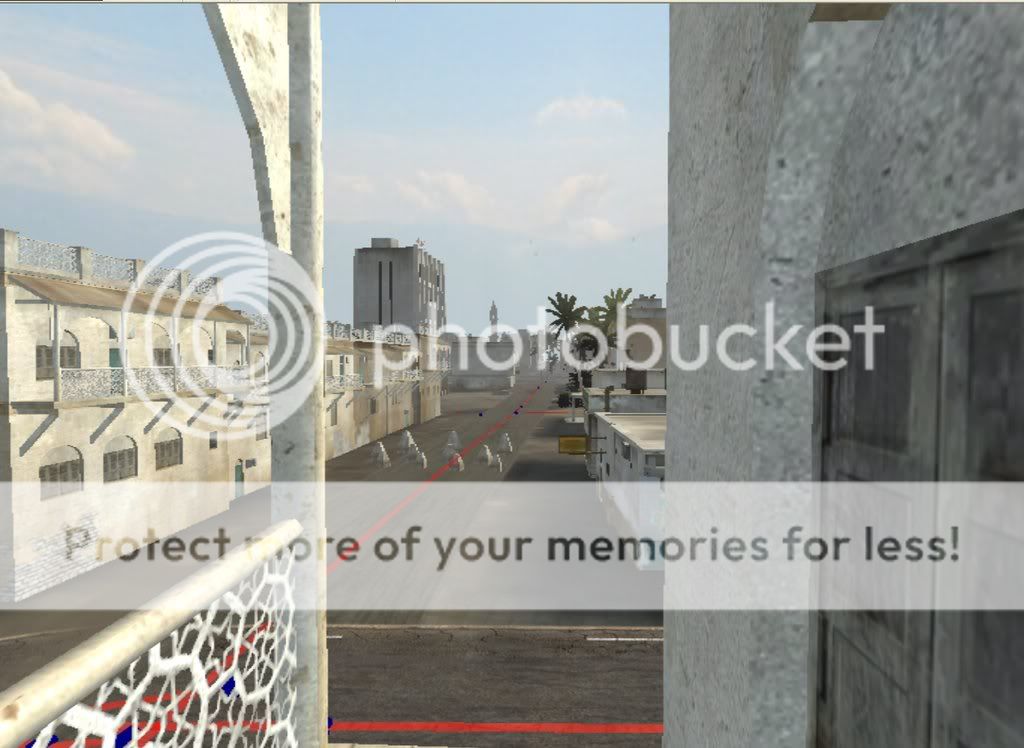
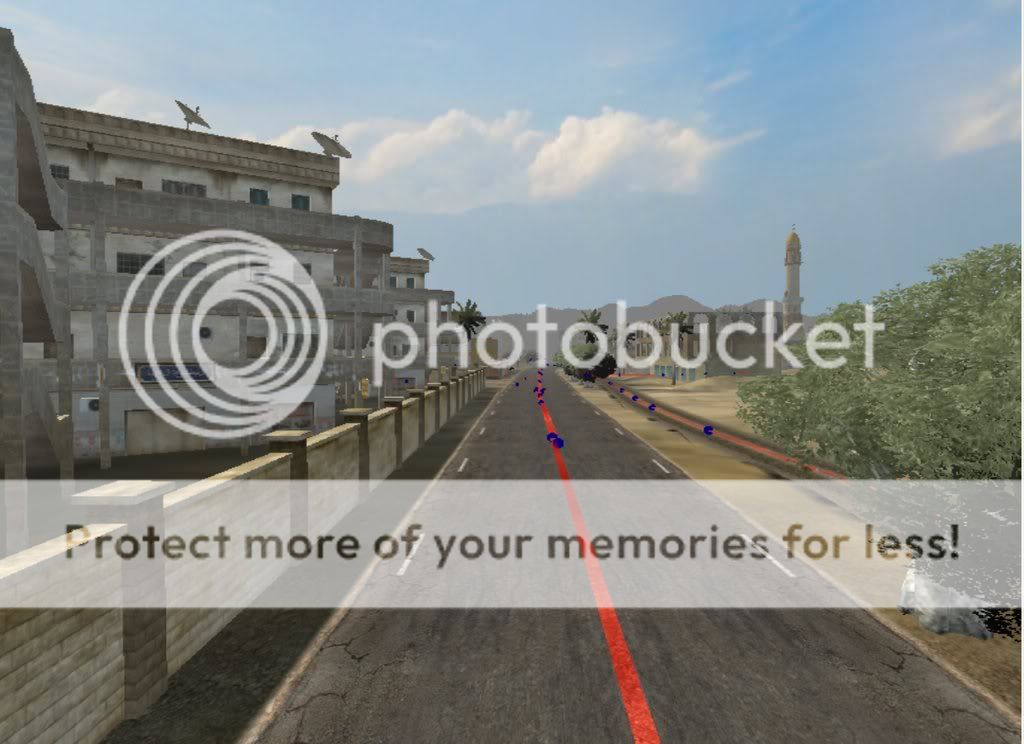
Final little bit I just want to add is about the "citybuilding_2b_part2" as this is not 100% aligned up with the part 1 which it snaps to by its transformation, but I have aliened the anchors. If you line up part 2 to part 1 by its transformation there will be a small gap like this:

If you do the stamp align on its anchor how ever its fine.

NOTE: This only happens with "citybuilding_2b", not "citybuilding_2a" so you can align 2a by its transformation if you wish.
Hope that helps, Cheers!